|
|
Post by SmashMonkey on Jan 19, 2010 1:09:25 GMT -6
I came across what are called 'pine rounds' in the lumber section of the local home depot. Three sizes, 17". 23" 35". The 17" is $9. I'm looking to get three of them, one each for the AMK, CMK and the eventual Aries. I want to get them at once, as I don't want to find them discontinued several months down the road. 17" is big for the AMK (which is not much longer than a sharpie). However, setting several pods around it would quickly fill up the space. 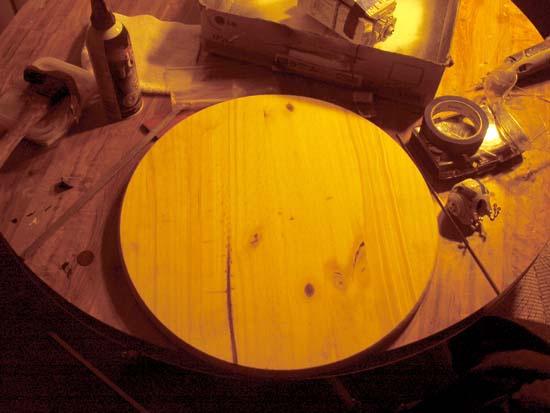 My AMK build will have to drill out portions of the rear to accommodate wiring. I would run the wires through brass support rods -the pods are very light. Putting several holes throughout would give re-positionable pods over time for different display possibilities. The antenna mount itself wedges down into the module support. The antenna itself can be cross-drilled with a rod inserted through. However, this might require glue or something to hold the dish assembly upright. |
|
|
|
Post by SmashMonkey on Jan 19, 2010 1:09:42 GMT -6
There were two pine rounds at home depot. They are 18", not 17" as I had thought. N.B.D., they were still $9 each... Placing the bulk of the AMK around the board, I had been thinking it would go dead center. Upon consideration, it can go anywhere except dead center! I will need to see it with extra pods around, but regardless, it will likely go lower off center than anywhere else. 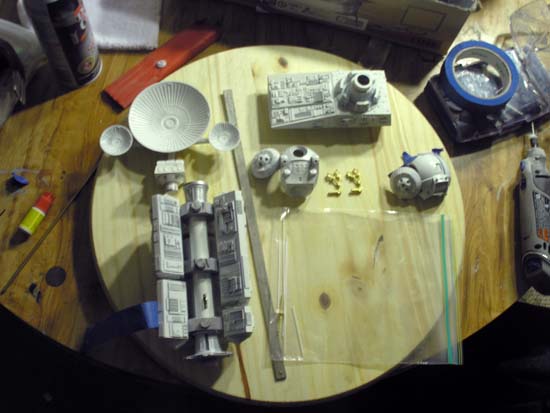 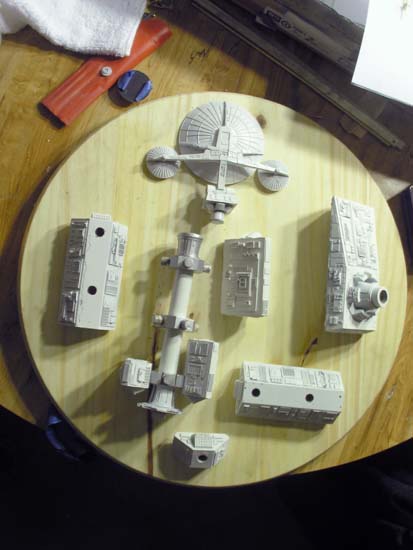 The weight shift in offsetting the AM will have to be an important consideration... The pine round may be rebalanced with a few pods, but that remains to be seen. I got a brass tube from the hobby store yesterday... It is perfect, but I couldn't tell you the gauge offhand. It is a great size for the Pod to run wires through... 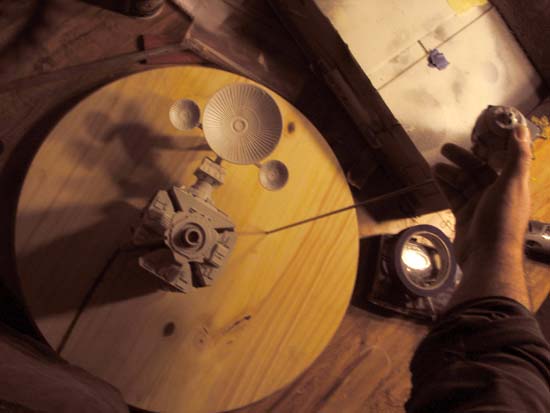 I will also use two with solid rods inside as supports for the AM to rest upon. It will rest, not be attached to the rods. I will have to create some kind of L-shaped stopper at the far end so that the AM can't work its way off the length and onto the ground once hung. I don't see that I could quake proof it though... Los Angeles sits on several major and dozens of minor fault zones and all bets are off when it comes to that! |
|
|
|
Post by SmashMonkey on Jan 19, 2010 1:10:23 GMT -6
I happen to have two flat steel 'beam's' about a 1/3" across and a few mm thick. It is over a foot long. The two angles together are perfect to fit along the length of the spine and modules. 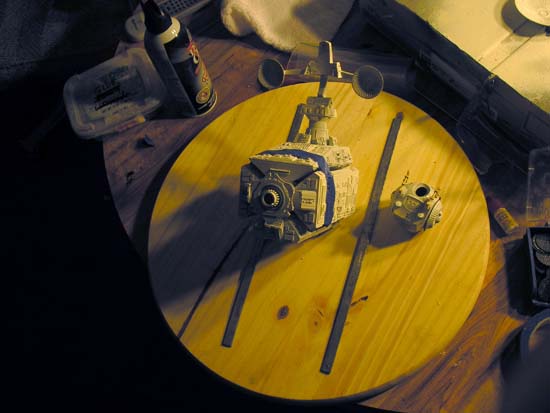 This will be more than secure enough to hold the kit in place. As stated earlier, most of it will not be glued together, and the kit will not be glued to these supports, though I may secure it somehow... When I cut the backside out, I will have to account for the offset weight in the front. I'm torn about giving this pine round a nice dark stain. Or going flat-space-black and spatter some stars across it... That could turn lame fast. And undoing that would be enough of a pain to ward me away from it despite the urge to do it. The stain will be classier from the start. I was going to do that with the CMK. Maybe this one too. First, I've got some cutting to do! |
|
|
|
Post by SmashMonkey on Jan 19, 2010 1:10:40 GMT -6
2 days ago, I grabbed the pine round, roughly lined up the AMK where I wanted it, penciled the steel beam outlines on the wood and dremeled away. The first slot was a perfect tight fit. The 2nd slot was so loose and sloppy that I had to drill open two other slots just above the previous two. These two are much better. 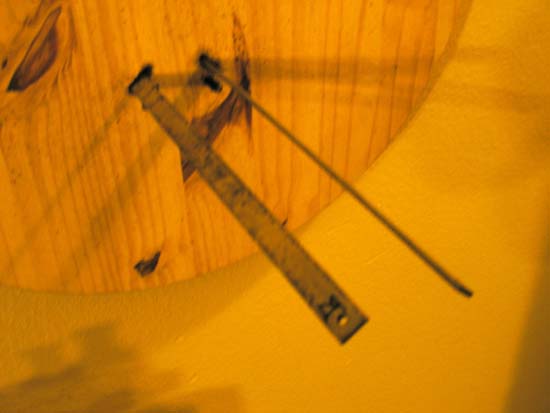 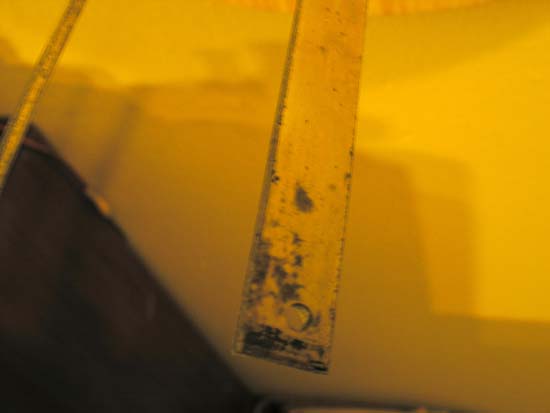 At nearly a foot, the beams were too long though. I brought them into work yesterday and stopped by our model shop where they have a massive circular blade for cutting steel and a few moments later, they were done! I will use those eye holes to wrap wire around the kit's central spine to secure into place. |
|
|
|
Post by SmashMonkey on Jan 19, 2010 1:11:04 GMT -6
And here she is hanging on the wall! 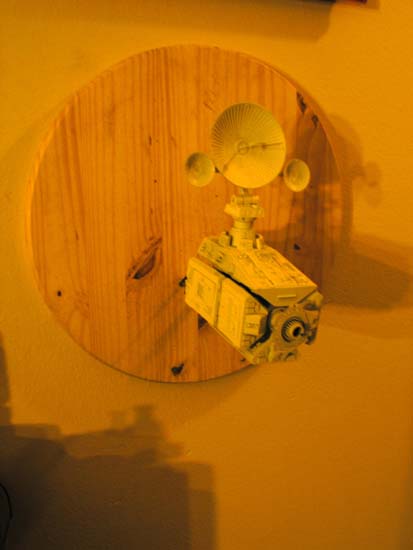 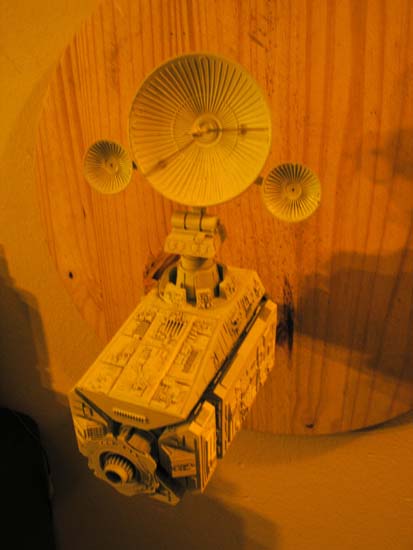 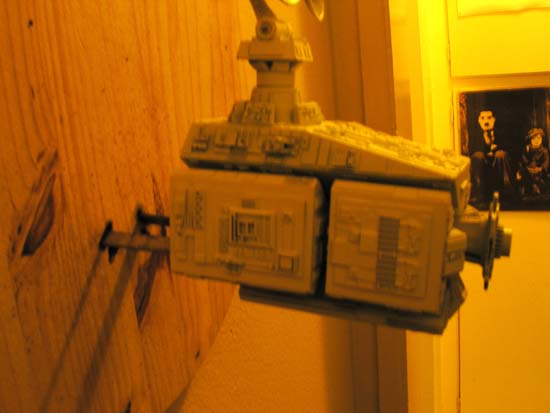 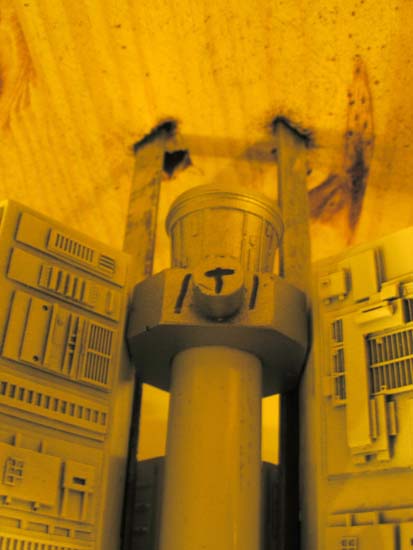 Nice! This is going to work perfectly! The 'T' written on there is for 'top' as that way is the tightest fit for all the pegs to their module holes. For the 4 diagonals on each peg, I am going to print up a complicated looking piece of greeblie and simply white glue it down. These diagonals are visible from the outside with all the modules in place and look very very plain. Whether they are that way or not in the film, they are getting jazzed up for my build of it. The Command Module is going on a similar pine round to complement this kit. The Aries, when I order that, will go on one as well, except it won't hang from the wall of course. If the legs are strong enough, perhaps it will go on the ceiling!    |
|
|
|
Post by SmashMonkey on Jan 19, 2010 1:11:20 GMT -6
I need to get daytime pictures of this. The stain job came out great and I will do it for the CMK as well. A brass plaque is not unwarranted in this situation methinks. I'm even thinking of taking my other hanging models and mounting them too. (The 2001 series at least now that I am thinking of it.) 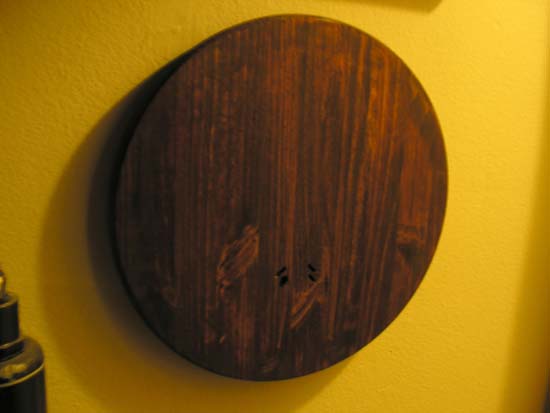 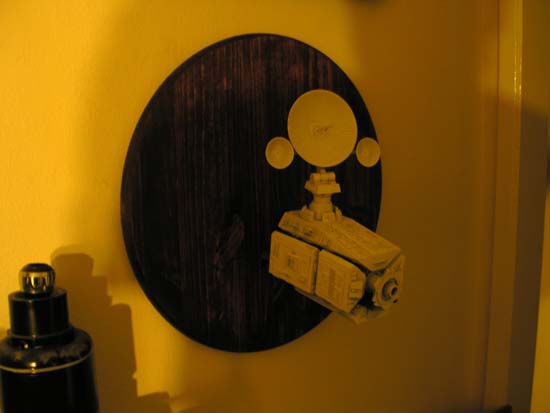 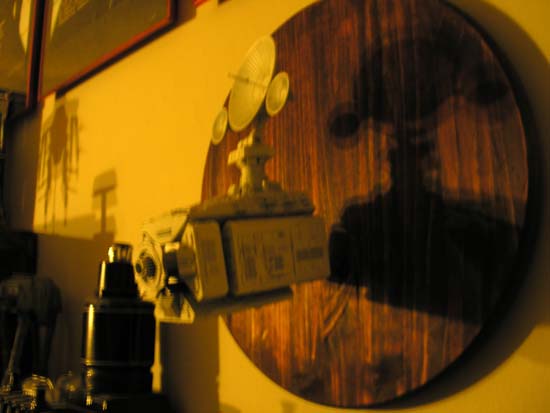 The main thing that needs doing is reinforcing the brackets so that they are perpendicular to the mount. Also still to be done is drilling for the pod and hollowing out the back for some electronics space. |
|