|
|
Post by SmashMonkey on Jan 19, 2010 1:14:03 GMT -6
The AMK arrived in the same shipping box as the EVAP. The pieces are packed w/ standard Atomic City care (i.e. superior!) 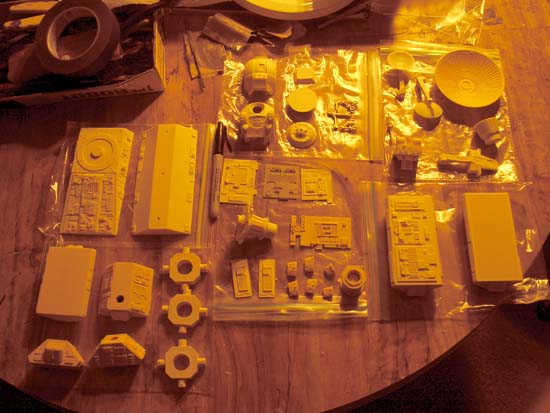 The few pieces of resin I pulled out looked great! There is a mix of brown and white resin. I don't know difference in quality of the two kinds... Are they the same? Happy! I will dig into it tonight -maybe I won't stay late at work afterall... 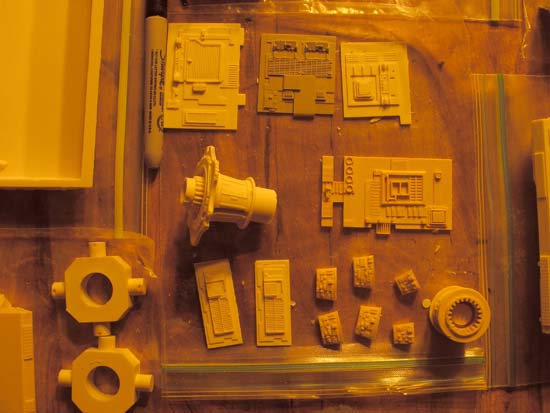 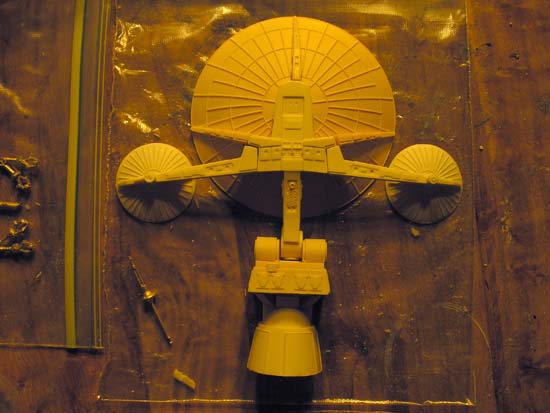 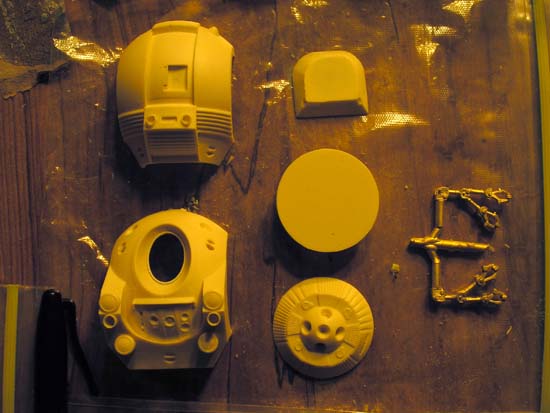 |
|
|
|
Post by SmashMonkey on Jan 19, 2010 1:14:31 GMT -6
Laid out, there are thirty+ pieces. I got the basic assembly notion while organizing them all. I tested pieces w/ each other as I went along. I may tape it all together later tonight to have a proper look. 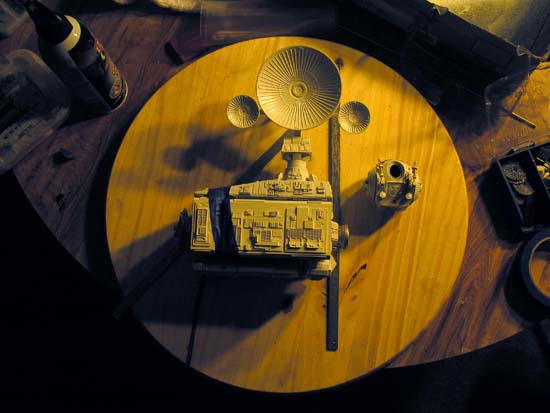 The Pod had a lot of flash on the hull's front/back seams, but the other parts are pretty much straight up perfect. The Antennae dishes are very delicate! I already broke two of them!  Just kiddin'! ;D 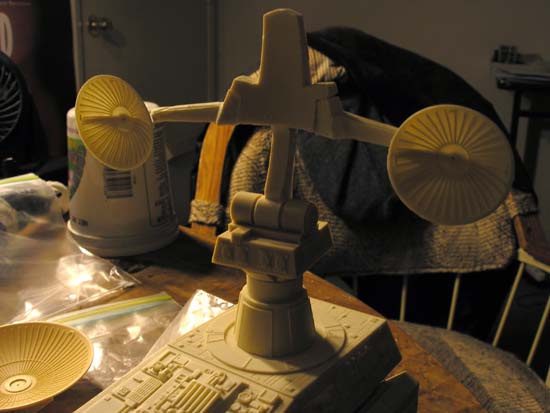 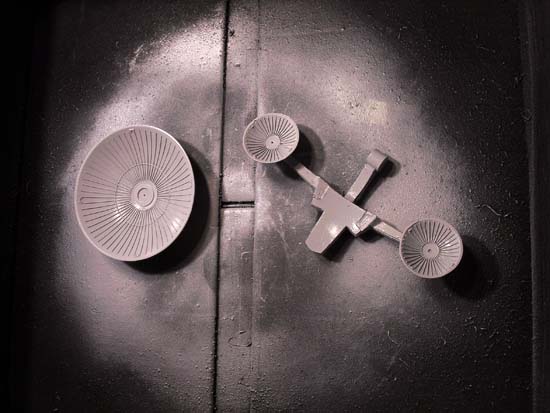 There are a few support holes that need to be drilled out. A number of block pieces need minimal sanding to fit them right. The Antenna base platform is molded in a hollow top cover and bottom w/walls base. 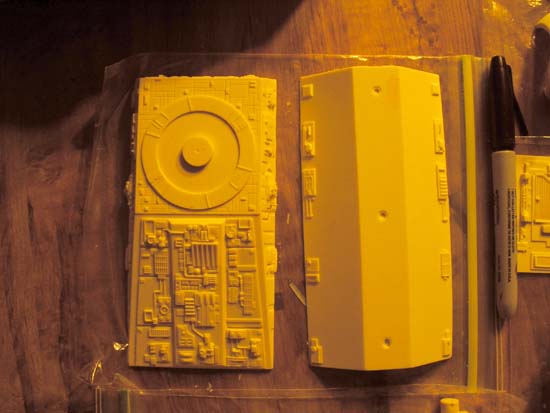 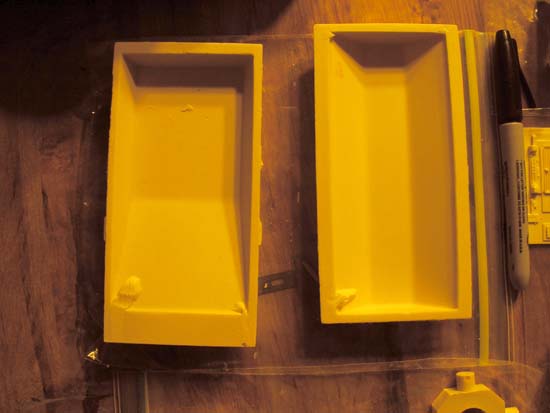 Needed will be some ultra light amounts of filler at some seams all around the body. My putty is right out the window and it's time to step up. The pour is standard greatness from Jim and design no less from Scott. No central support rod was included. Scott's consultation will be needed there. There's plenty to do on the kit before the support rod is needed to continue. |
|
|
|
Post by SmashMonkey on Jan 19, 2010 1:15:02 GMT -6
I used the point and blade of a hefty scissors to slice the holes and alter diameters needed. Worked successfully. The temptation is to bond the whole thing together now. However, it will not be until mid-week before it is washed and dried. By then the new directions will be online and digested.
There are many minor parts that can easily be glued by the weekend. The others hold together by slotting and the kit sits together well. The Antenna beams are the serious challenge to building this kit!
Don't know whether to include a few notes on the pod here or over there...
A support rod is not needed afterall. Reviewing the old copies of the kit directions (under AC/Ancient History), I found that I had put the symmetrical pieces opposite each other (stbd/port), rather than abutting each other (port/bottom). And the pieces are reversed from each other!
The way I had it, one bracket swung on its y-axis freely. Setting it up properly, no bracket will spin and the whole thing is automatically square to itself. Nice engineering!
|
|
|
|
Post by SmashMonkey on Jan 19, 2010 1:15:20 GMT -6
Looking through the gaps when all the modules are fully assembled shows empty space where a spinal shaft should be. So I will be putting a rod in there anyway. That little dash of extra stability will help in the long run too. 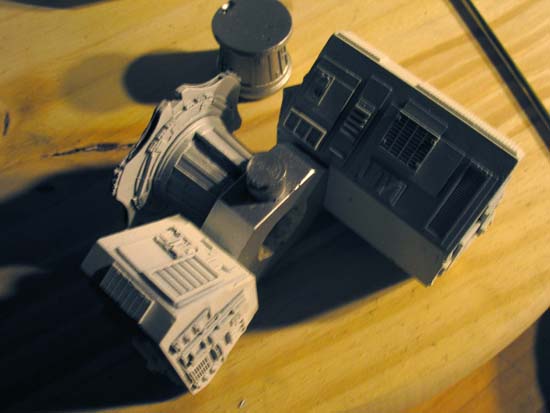 Washed all the pieces last night and glued panels to modules, top to bottom on the dish module, tombstones and dish-base to the same module. The connecting piece to that will go well there as: it's a tight enough fit not to fall loose and a loose enough fit to spin it 360° if desired. Will likely black prime it tonight if it's not too cold out. Painting errors on these surfaces will be very difficult to fix! |
|
|
|
Post by SmashMonkey on Jan 19, 2010 1:15:39 GMT -6
Not only did I prime it all black, I also got a silver coat down on select pieces before running out of that and threw down a white coat on those as well -Dish and Pod mostly. I think a gloss overcoat is needed. The rest of the body would be matte though. 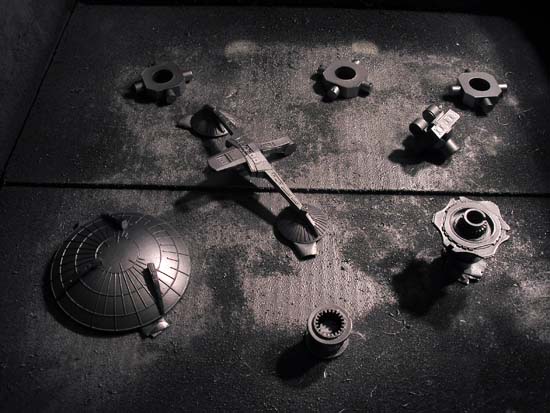 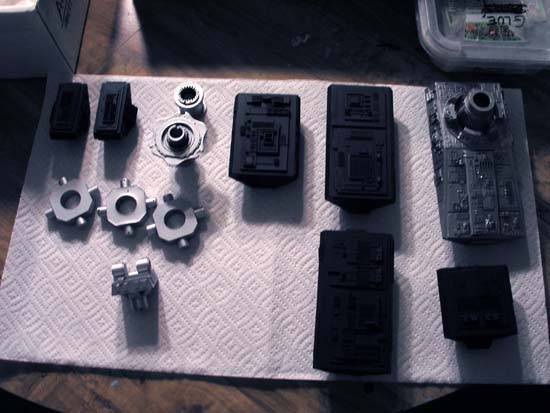 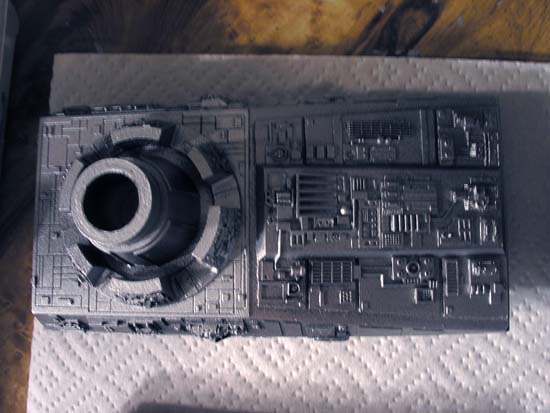 I have some Canvas White left from the USNuke, but not enough to do the whole ship. I may just do the dish module so that I can compare that white to the primer white of the dish -as that is pure white in every shot, whereas the the modules are an off white -likely due to shadows and details. Will reassemble pieces tonight to have a new look. |
|
|
|
Post by SmashMonkey on Jan 19, 2010 1:16:20 GMT -6
Bad news! The clear gloss I used on the Dish went down perfect everywhere -except the face! It cracked and splintered the paint! What can I do to save this? Soak it in thinner overnight? What about dissolving the resin? Yikes! Additional: I took the finest file I had and used the tip to gently-as-I-could rub out all the splintering. It's moderately successful, see if you can see any here. Note that there is still much more not visible.  Overall, it sits together well. The dish assembly is primer white. The base module is canvas white. A good difference, but I have to watch the film this weekend and see. The rest of is sits black or silver. The whole thing together is a good size. The three grappler arms were not included and Scott has them on the way. I guess the pod is roughly 1/31-1/33 by the discussions over at AC. So, Paulbo's designs at 1/6 get shrunk 500% ? 6x5=30 and trim from there... ?  I tried the dual white paint on different parts. It doesn't work. The whole thing has to be the same base white... I was hoping that by going light on the white overcoat, that the underlying black would fill in the grooves and details, but the white just looks half-assed. So, the whole thing has to go white with shadowing afterwards... I went with a few more white coats on the modules and those are looking good. I blacked up the dish module and went white over that. Now all the modules are the same basic primer white. Some black did remain in the deepest nooks and the look is quite good! I next have to determine: do i keep the inner blocks silver or paint white. Do I do any detail colors anywhere -like warning markers and such Uhmm. There was a third thing... |
|
|
|
Post by SmashMonkey on Jan 19, 2010 1:17:36 GMT -6
I finally got an aluminum tube about 1/2" around and sliced it down to length. 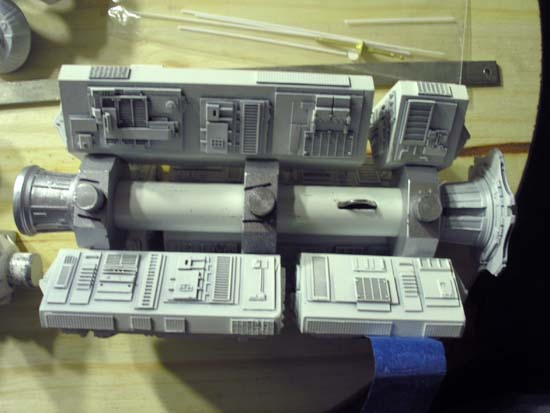 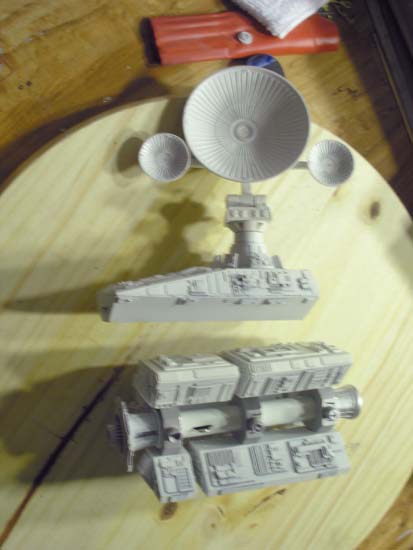 This is now the central spine support. This adds a great deal of stability to the whole. Of the 7 modules, I had to glue two to their brackets. Stbd aft and bottom aft. The A module rests atop well enough w/o glue. It doesn't need glue yet, so it's not getting any. All the other modules fit tight and square without glue. I don't know that I will ever glue any of them on. I have no compulsion to, so it should be ok. The two I did glue were loose and single block pins, not two pins like the others or all 3 block pins on the A module. I will have to refresh my mind on the module designations too... I salvaged the dish with strategic sand paper. It's now white again. I drilled an axle path through the tootsie roll and need to pin it off once I figure out the diameter. A toothpick may do, possibly with a slice of tape to thicken it up. It must be a very tight fir to support the weight of the dish. (PS: the toothpick worked perfectly!)  Once the paint is dry, I will glue the dish back on to the mast. The mast support sits tightly in its nest of tombstones and has a smooth twist on it for rotation. This will loosen up over time, but it will be years of twisting. 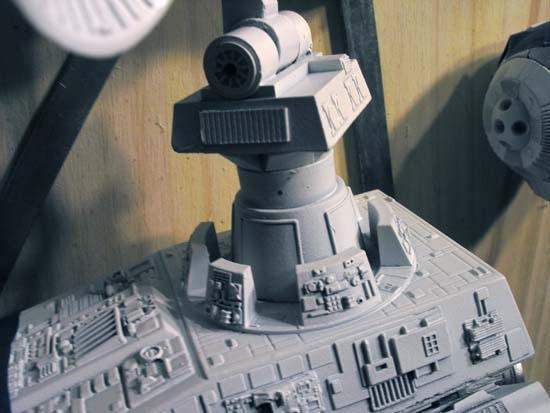 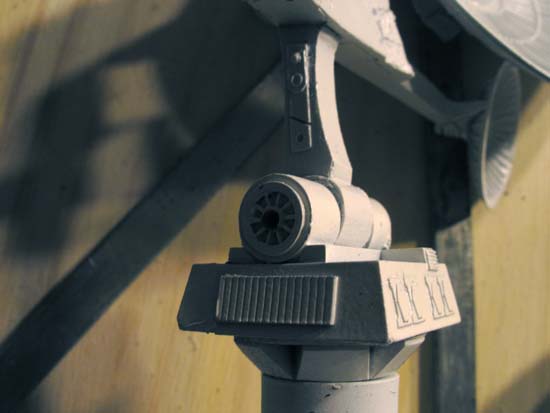 More in a little bit... |
|