|
|
Post by Model Man on Apr 23, 2008 19:19:54 GMT -6
(original post: 15 Jan 2008 12:54 pm)Is that 'trail' of disaster? Or tale? Either way, Lunadude, it works! No more work on this one for the week. I've got the Bandai 1701 very near completion and that needs to get hanging from the ceiling as it's too bulky to sit around for long. I'm also showing off my apt this week, so I gotta keep things clean 
|
|
|
|
Post by lunadude on Apr 23, 2008 19:21:45 GMT -6
(original posted: Sun Jan 20, 2008 7:03 pm)Is that 'trail' of disaster? Or tale? Either way, Lunadude, it works!  Heh, meant "tale", but you are right, it does work. Keep up the great work.
|
|
|
|
Post by Model Man on Apr 23, 2008 19:22:40 GMT -6
(original post: 20 Jan 2008 08:04 pm)Actually, I did a dash of work while waiting on the 1701 over the last few days. Basically, a little more surfacing around the tower base. Surfaced and glued the flappy on top of the tower. And I gave another layer of black primer to the whole body. I am happy to report that 95% of all blemishes are gone! There are some hairs and grit from the spray paint (where does it all come from?!?) that need ridding of... 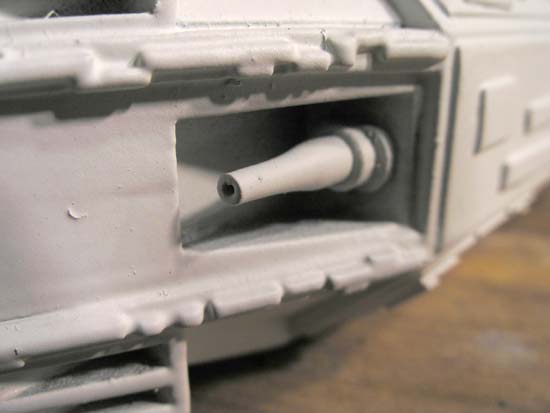 but I am there! 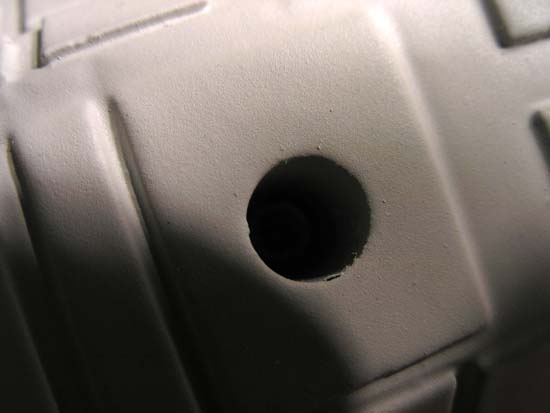 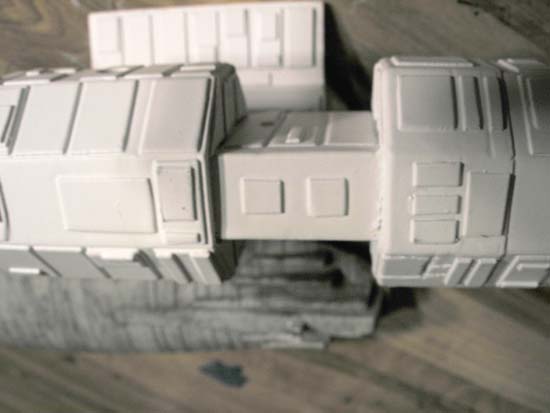 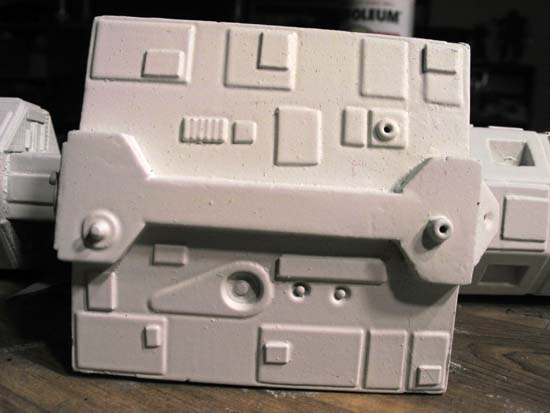 Will be going for the base white this week sometime. Then it's gray panels and the ultimate decision on what the actual colors are: maroon, red, copper, what?!?! I got a new car the other day to replace my dead motorcycle (better it than me), so making my wheels look as shiny as possible is consuming my mind now. A great project is patching all the tiny scratches and chips -perfect experience for a modeler!
|
|
|
|
Post by Model Man on Apr 23, 2008 19:23:01 GMT -6
(original post: 22 Jan 2008 05:41 pm)
The top coat of white went down last night and this morning. It needs an inspection, but I should be starting panel painting by the weekend. Have to study the gray patterns and then improvise. The 'Maroon' will be the last color to do.
I still have to find balls for the side holes, but that can easily be done anytime, even after I call the kit 'finished'.
The 'laser canons' sticking out the front look cool. I will get a pic of the glue tube applicators that I used for them. They are 'The Original Super Glue' brand CA glue. Gel version from the 99cent store. A yellow tube w/ green cap and highlights.
|
|
|
|
Post by Model Man on Apr 23, 2008 19:23:33 GMT -6
(original post: 23 Jan 2008 02:19 am)
Looking at it this evening, there were a few areas that needed a second coat. I sprayed one end and it is drying over night. With a blast on the nose in the morning, the base white is complete.
The surfacing is also done. The length of the stbd tower base still has some awkwardness to the line, but I'm going to run with it for now and go for a surgical repair down the road.
I next have to decide if I'm going to hand, or air brush the gray panels and what their shades will be. Probably up to 3 shades, or simply two applied to create a few for variety.
Unless I find a real compelling maroon (such as was in the last few star wars films} I'm going w/ a simple copper representing solar panels to generate minimal backup power should the fusion plant fail.
|
|
|
|
Post by Model Man on Apr 23, 2008 19:23:59 GMT -6
(original post: 23 Jan 2008 01:33 pm)
This morning, the nose got the last bit of white paint. Just as well as I ran out. It was Rustoleum Canvas White. A nice tone.
Will look it over tonight, but I'm confident. I'm leaning towards the hand brush for the panels as it will not likely run and bleed the way an airbrush might if I let it get away from me. The hand brush paint will be thicker, but tighter too. I am concerned about getting it even. The satellite is essentially new in space. It's not like they get dirty. Banged up, sure. But 'dirty', never.
|
|
|
|
Post by Model Man on Apr 23, 2008 19:24:25 GMT -6
(original post: 24 Jan 2008 03:26 pm)Complete coverage. Excellent surface condition, generally. The half dozen bits of grit in the paint will be razor-tipped out of there and those panels will get gray tones. 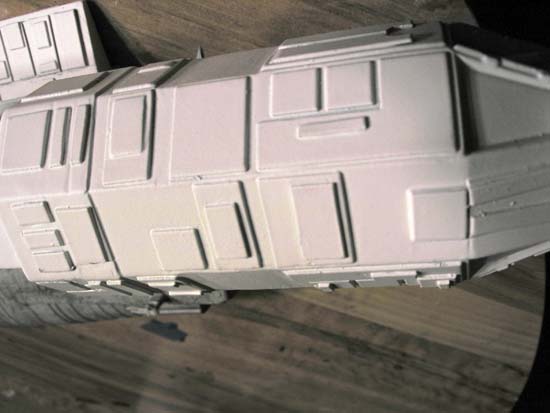 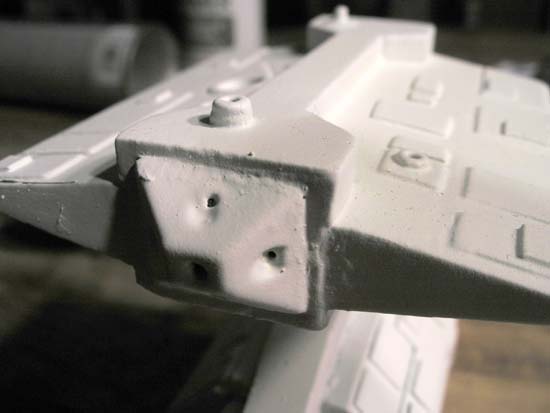 I'm now leaning towards airbrushing the panels. It will take a significant time to mask everything multiple times, but I think it will be the better route. It will also give me more time to think about the maroon/copper conundrum...
|
|
|
|
Post by lunadude on Apr 23, 2008 19:25:05 GMT -6
(original posted: Sun Jan 27, 2008 1:57 am)
I'm leaning towards a dusty maroon color.
The copper is VERY NICE, but a little to strong. Though, if you mixed silver/copper, that might soften the color.
|
|
|
|
Post by Model Man on Apr 23, 2008 19:25:46 GMT -6
(original post: 29 Jan 2008 01:51 pm)
I tried maroon and copper, but that just went mauve. No good. A dusty maroon is likely the best choice. Plain copper is too bright, though it creates the look as seen in the film -that is being a metal, it also goes dark and picks up other colors around it...
The bomb is sitting in the airbrush pile waiting to see some action. Until that happens, it will be quiet time here. I've got two other kits I need to bring up to airbrush-ready status. That will give me about six ducks in that pipeline ready to be knocked down in a row.
I'm ready to order le-bomb!
|
|
tagdot
Assistant Tech

Posts: 35
|
Post by tagdot on Apr 23, 2008 19:27:39 GMT -6
(original posted: Tue Jan 29, 2008 3:02 pm)
Have you considered gold leaf instead of copper or maroon. Remember the Apollo Moon Lander? It had a gold foil thermal insulation around the base. Since "2001" was made in 1968 and the moon landing was 1969, the use of gold could have been a very good possible addition to the satellite. Gold is a good conductor for heat and light as well as electrical conductivity although I doubt that was its purpose on the satellite.
|
|
|
|
Post by Model Man on Apr 23, 2008 19:28:09 GMT -6
(original post: 29 Jan 2008 04:11 pm)I have a model of the I.S.S. I was strongly considering gold leaf for the solar panels on that.  But I have never worked with GL before, so know nothing about what's involved. I think for this nuke, I will stick w/ paint. though I would like to hear more.
|
|
tagdot
Assistant Tech

Posts: 35
|
Post by tagdot on Apr 23, 2008 19:28:56 GMT -6
(original posted: Wed Jan 30, 2008 2:01 am)
Gold leaf comes in many different forms from imitation to 22 karat. There are a number of commercial adhesives available for attaching the leaf to pretty much anything you want, i.e. there is no particular adhesive that you need to use for a particular surface.
The main worry about using gold leaf is that it is soooooo thin that any air circulation can cause it to blow out of your hand so you want to apply it in a closed room free of draft.
The other concern is that the leaf is notorious for sticking to surrounding surfaces that you don't necessarily want it to. To remedy this problem, you just simply mask off the immediate surrounding areas, as you would if you were air brushing, before you apply the leaf.
People who use the higher quality leaf cut it, as much as possible, to the size they need. Others, like myself cut enough to overlap the area a bit and then use a soft dry flat paintbrush to brush away the excess leaving only the leaf that sticks to the adhesive.
If you want to experiment on gold leaf that is not as precious as 22 karat, I suggest going to a craft store such as Michaels or going to the Blick Art Supplies web site. You can purchase imitation leaf and the adhesive pretty inexpensively.
|
|
|
|
Post by Model Man on Apr 23, 2008 19:30:10 GMT -6
(original post: 15 Feb 2008 12:28 am)Thanks for the info on GL, tagdot! I will keep it all in mind As a general update, this is to say that I have done nothing on the model since the last time. It is sitting in my airbrush pile with nine other kits. So now that those have about reached critical mass, it's about time to knock them all down. On the computer front, I recently found my invoice for the my failed mobo, so it is a matter of setting up the RMA and getting a replacement! I'm now running on a loaned mac g4 from 5 or 6 years ago! I'm rockin'!!!  No, not really.
|
|
|
|
Post by Model Man on Apr 23, 2008 19:30:46 GMT -6
(original post: 11 Mar 2008 06:41 pm)So, I found a new white that I really like -I will remember to chk the name at home tonight. It's a rustoleum white metal primer of some sort. A really nice white. Not brilliant and blinding, nor yellow/brown. Almost the suggestion of blue, but not quite. Anyway, the whole ship got a light coat of this. It still sits in the airbrush pile along with a bunch of others. I am still having a tough time deciding the color scheme to go with... 
|
|
|
|
Post by Model Man on Apr 26, 2008 21:19:30 GMT -6
My god, it's full of pictures! You may have noticed that this thread is now chock full of 5 months worth of pictures. I restored my system perfectly well last week and am playing catch up. First is these two bombs, next is the AMK over at Clavius Shipyards cmk15.proboards92.com/index.cgi, then it's my modelwerx www.twinlitworlds.com/modelwerx/index.html site. I've got 60 pages of notes to transcribe, so it will take a wee bit of time... Here are a few pix I really liked, that didn't make it in yet... I was going to copy the RCS from the back to the front, but decided I was too lazy to recreate it. So I just sliced both pieces off and flipped them around. 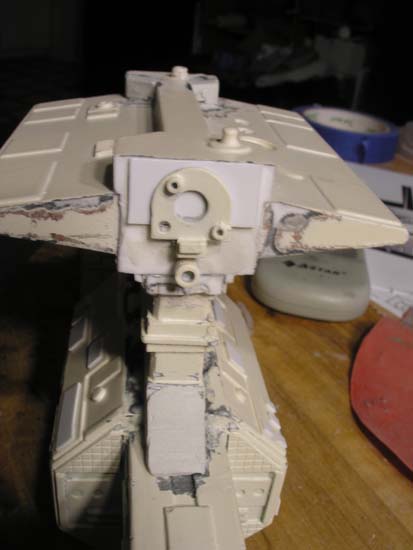 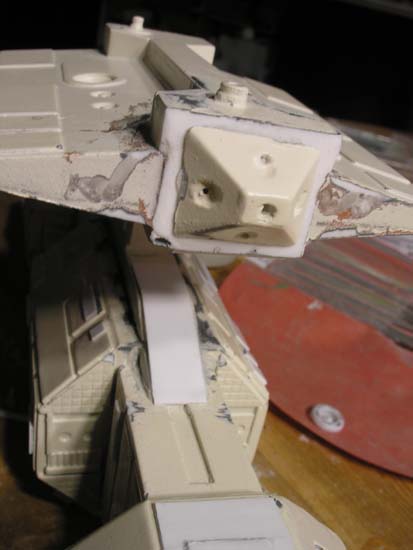 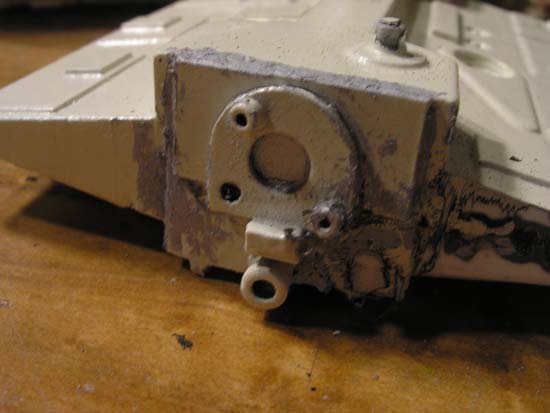 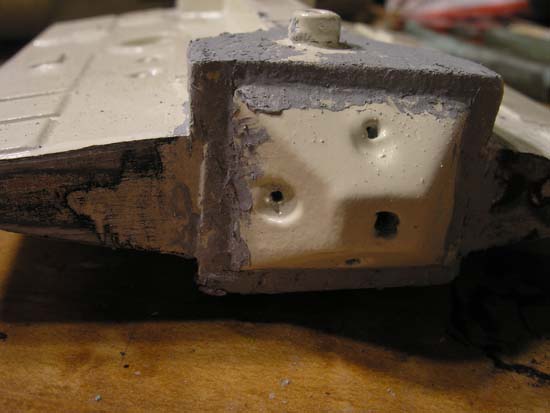  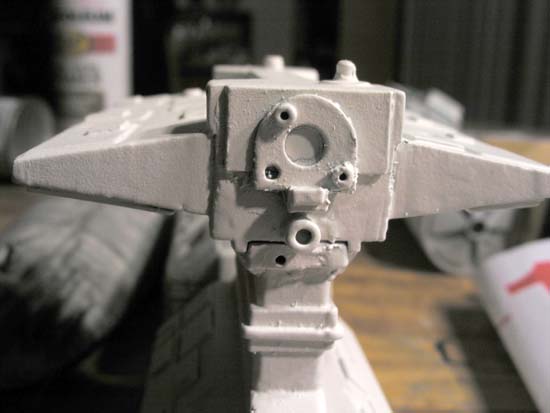 I eventually puttied these parts over pretty well. The last time the tower fell off, it snapped at the front of the base very badly, but the repair was good. 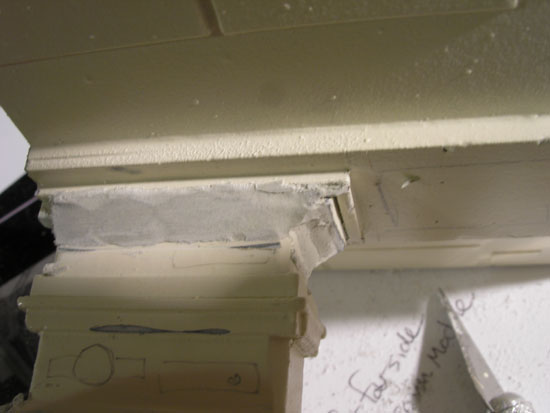 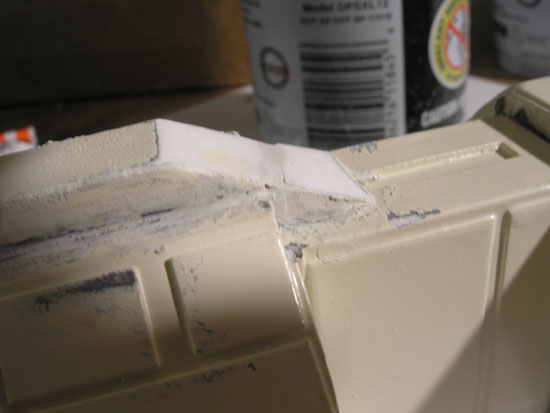 There used to be details in here that were completely inaccurate. I dabbed them away with drill tip. I now need to drill in the 17 vent holes into each of the four slots to make things official 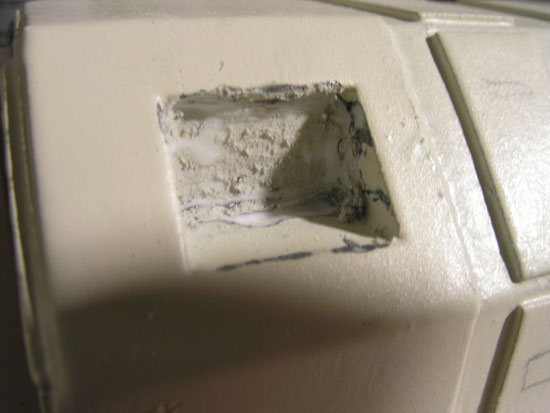 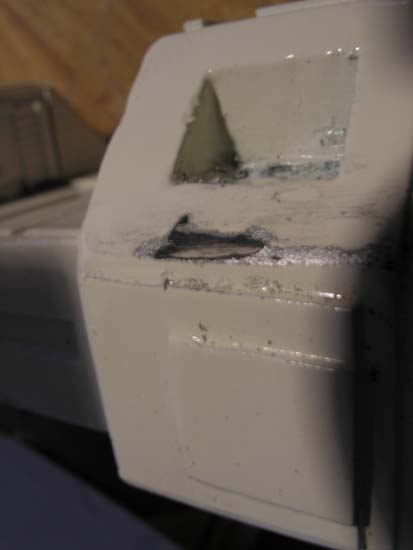 This end was far smaller than the other one. The other one being accurate, this one not. So over time, I built up and shaved down putty into shape. 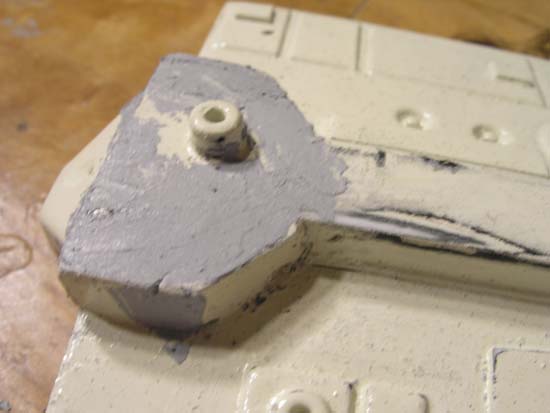 Hiding this rim turned out to be hell, but I got it done. I couldn't shave it away as it is the metal nozzle from an old airbrush. 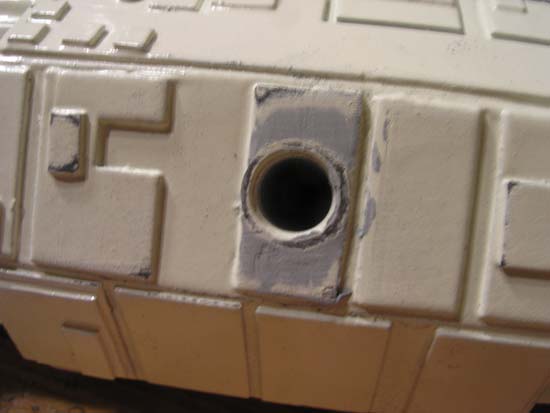 And here is where she will hang from. It's a convenient nob on the top that I cored away with a tiny bit. The line is something like 20 or 40lb test. I forget which. It's doesn't need it for the weight, it was simply laying around and fit perfectly. 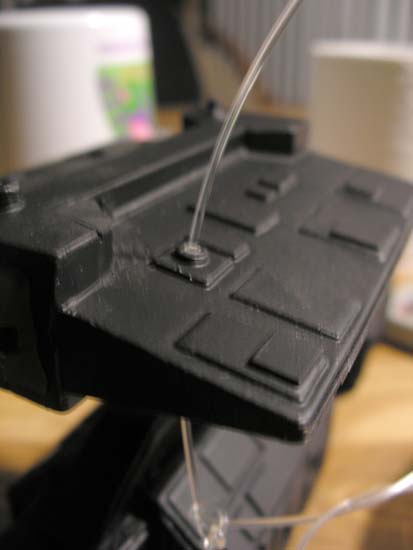 Foof! Now all I have to do is catch up with 5 months of backlog and I can proceed with things! I also have to stop working weekends and as we are at the end of a project, that is not likely. I need a solid two days to make it worth unpacking the airbrush station. Welcome to the new and improved ODEC!  |
|
|
|
Post by Model Man on Apr 26, 2008 22:02:28 GMT -6
P.S. The new-new white I am using is:
Rustoleum #7780 White Clean Metal Primer
First it was Shell White (too yellow), then Canvas White -couldn't find a new can of it when needed so, now this is finally the one!
|
|
|
|
Post by Model Man on Apr 30, 2008 18:19:49 GMT -6
I see that the mishmash of shots I have posted here doesn't really show the current state of the build. The side by side thread kind of does, but France gets in the way.
So, I'll get some current beauty shots uploaded soon targeting some specific areas that got lots of work. . Perhaps tonight, perhaps by the weekend.
|
|
|
|
Post by Model Man on May 1, 2008 1:22:45 GMT -6
Here we go, saw dust, cat hairs and all.  The fishing line is not glued in. That new neck base is sooo much better than the original. 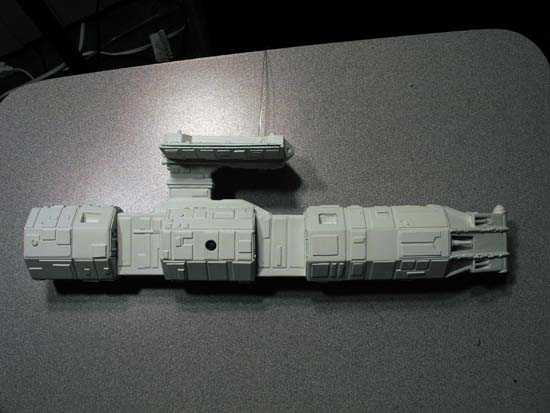 I got 7 panels on one underside wing, then 8 on the other. Oops.  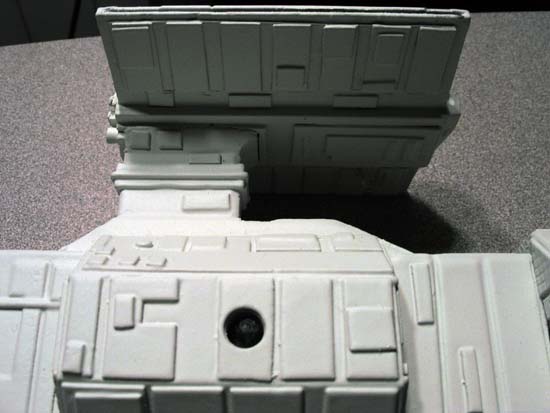 What am I going to do about this nose??? 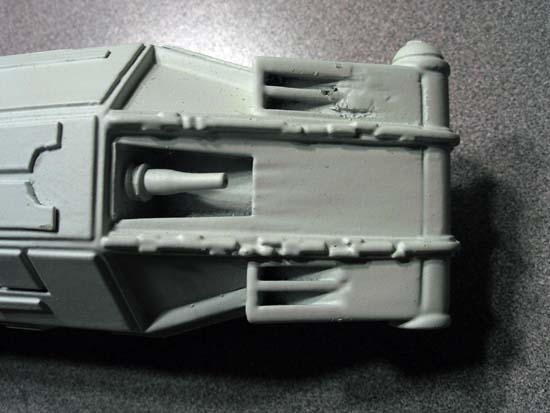 The discoloration is an artifact. That line fit down that nob nicely, eh? 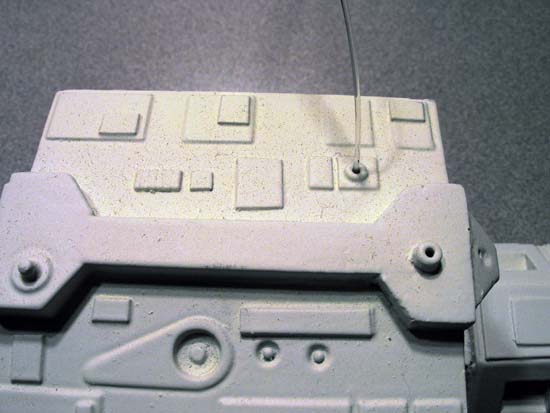 I have to fill that crack at the base of the neck. 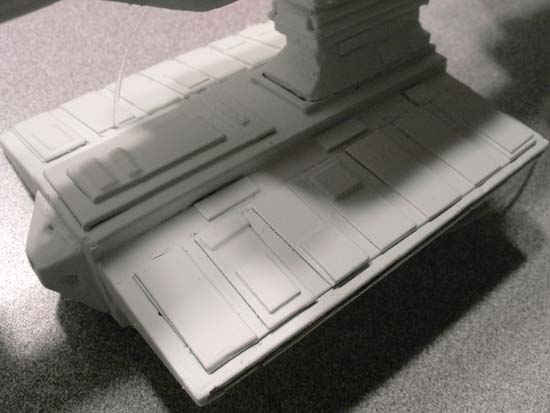 That nob on top pitches the body to the same angle as the film. I will hang it by a ceiling lamp for maximum effect. 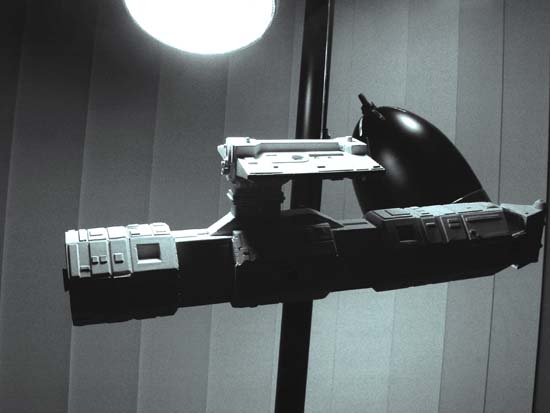 I count ~40 panels glued on in this shot alone. 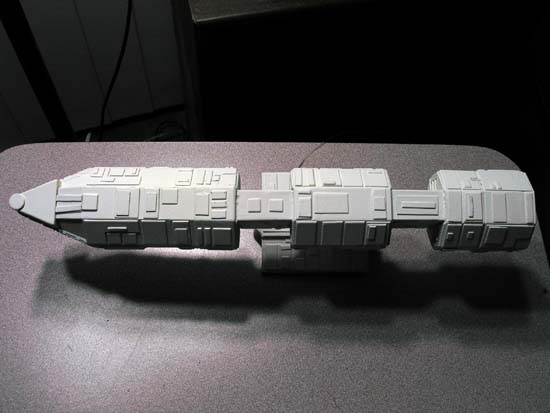 I really dislike that gap around the engine 'board' at the walls... 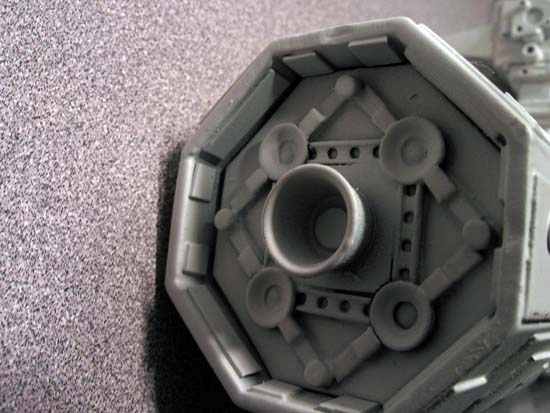 Gotta drill those exhaust holes... 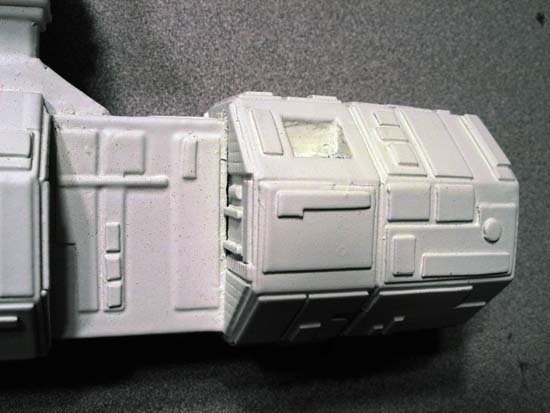 Looking thru some of the very first pix of this model, I'm pleasantly surprised at how far this kit has come along. It still has a ways to go... As always, check out www.twinlitworlds.com/modelwerx/index.html Kit #63 for the full catalog of pix. Build notes are being updated over the coming weeks. |
|
|
|
Post by Model Man on Jun 18, 2008 2:39:32 GMT -6
|
|
|
|
Post by lunadude on Jun 18, 2008 13:35:31 GMT -6
Nice family photos.  I see you invited uncle Cthulhu. |
|