|
|
Post by Model Man on Apr 23, 2008 18:46:56 GMT -6
(original post: 22 Nov 2007 02:20 am)Big ba-da boom! (Why has no one made Korben's taxi as a kit?) Back to da bomb. I'll do more this weekend, but wanted to start with a quick review. Mad Dog's kit is an easy assembly. While the parts mostly seem interchangeable, there does seem to be a definitive order. Very well crafted. Sharp and crisp, though there were minor mold lines that needed cleaning. The casting was as close to flawless as one can reasonably get. When I had the body together, there seemed to be some minor torquing down the top center. I haven't absolutely confirmed this yet. I also did a side by side with a frame grab and have determined that there are several differences, though all should be fixable. Some round holes need drilling in the side, at least one open bay needs to be covered, and some panels should be re-ordered with some sheet styrene... The major surgery I performed was to slice away the underside of the tower base. The shape is completely wrong -at least seems inelegant. I'll get those pix this weekend. I have never seen the Bizony book so I do not know if there are diagrams there that this was taken from. I saw some questions at Atomic City on the 'fatness' of the kit... Been doing a paint test with copper mixes, but wound up applying plain copper paint to several areas. I think that it is very close and will form a component of the final paint job. But I need some maroon to try next. I'm sure that's a deep red of some sort along the command module. More in a couple days. Or check www.twinlitworlds.com/modelwerx/index.htmlSelect Kits and then #63. 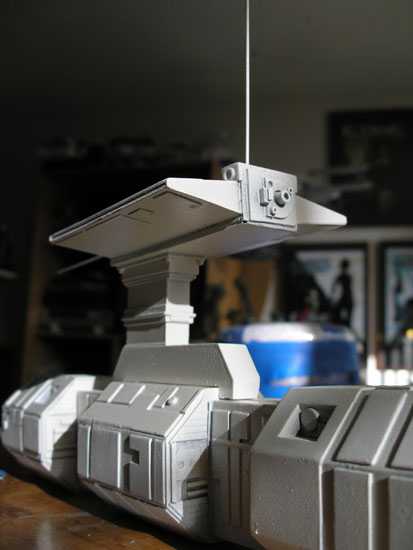
|
|
|
|
Post by lunadude on Apr 23, 2008 19:05:27 GMT -6
(original posted: Thu Nov 22, 2007 2:37 am
Yummy. You are moving fast, and it is looking GREAT!
How are you planning on displaying it? Hanging, or resting on a platform?
|
|
|
|
Post by Model Man on Apr 23, 2008 19:06:03 GMT -6
(original post: 22 Nov 2007 02:45 am)
It does sit nicely. But I am throwing a noose around it's neck and stringing it high. My shelf space has to go for non-space ships whenever possible.
If my living room had a ceiling lamp, I would hang the ship so that it had the same angle of incidence to the light as the film, but that will have to wait for a new home.
How about yourself?
The priming went fast. I threw a couple quick coats of Rustoleum's Heirloom White (not brilliant white, almost a cream but not quite tan). Not much to the build from there as you well know.
|
|
|
|
Post by lunadude on Apr 23, 2008 19:06:46 GMT -6
(original posted: Thu Nov 22, 2007 10:40 pm)
I'm reading through your site's build log.
Got some questions about your painting. Looked like a lot of paint layers (6).
Primers to Base Color:
1-Dark Gray Primer
2-Black Primer
3-Silver
4-Silver
5-Black
6-Rustoleum Heirloom White
Do you mind explaining why so many? I would have gone from a dark Grey primer, to the Heirloom White.
|
|
|
|
Post by Model Man on Apr 23, 2008 19:07:20 GMT -6
(original post: 22 Nov 2007 11:24 pm)
Usually I go for black first. The dark gray was handy and I didn't have black. Then I got some black and did that for good measure to kill any chance of subsurface light scatter. Tht other function of the black is to get into the nooks. This helps create shadow depth later on, 'Ambient Occlusion' in 3d jargon.
I then went for the silver. I do silver for ships so that if I want to later, I can scuff the surface down to the silver layer for weathering. It's a very convincing effect -better than dry brushing silver on top of a final color.
After putting the silver down, I realized that that had killed all the black in all the nooks and crannies of the ship... So, I did another layer of black. The Heirloom was the 'factory color', with spot colors coming next. I went light with the Heirloom, hitting major surfaces and ignoring the nooks. This added good depth to the whole thing. I'll post more pix as I go.
Also in between coats, I sand out all the blemishes and fudge that seems to enjoy getting into spray paint. In doing so, this generally requires another coat to finish.
Putting down more paint easily shows any defects in the surface making it easier for me to see where the putty needs to go, where I need to sand and so on. Paint, patch, sand, patch, sand, paint, repeat.
As long as each layer goes down light, no surface detail is lost. I loooked around for more Heirloom today, didn't find that but found another whose name I will write later.
A few months ago I came across the guy who painted the TMP Enterprise. I'll try and find the link... In it, he described that he would layer the paint on, the modelers would sand the surface away, he'd paint, they'd sand. Dozens of layers later it was ready for final colors.
In building up the paint surface, you are no longer affecting the model surface. So scratches, dents dings happen to the paint, not the model I don't know how much a difference that really makes. As a kid, I wouldn't have bothered priming at all. But now I seem to do a lot of it. Probly too much.
What kind of procedure do all you guys use?
|
|
|
|
Post by Model Man on Apr 23, 2008 19:07:57 GMT -6
(original post: 23 Nov 2007 09:44 pm)Post Surgery Tower Base 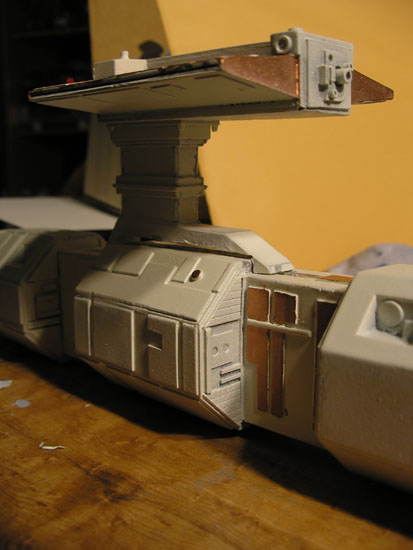
|
|
|
|
Post by Model Man on Apr 23, 2008 19:08:30 GMT -6
(original post: 29 Nov 2007 06:41 pm)
After seeing the high rez pix, I sat down and penciled in all the details on the kit. Wow! There's so much to do! I thought this was going to be a 'simple' paint job. I may do some serious surgery afterall! Will post some pix later...
|
|
|
|
Post by Model Man on Apr 23, 2008 19:08:58 GMT -6
(original post: 01 Dec 2007 03:41 am)
So...
As the paneling on the connectors in between the octagons is close to the new photos, and as I put them in the wrong order for the photos, I snapped the kit apart. The middle module's paneling is also more accurate one way then the other. And it was the other that I glued it initially. This ripped the connector slots, but not in a hugely bad manner and no detailing was destroyed. I cleaned them up and reordered the modules accordingly. They glued nicely and the kit is now fully reassembled.
However, while I was at it, I decided that the upper half of the conning tower was too tall. I sliced the sensor platform (SP) off (we're going to have to come up with nomenclature!) the conning tower and sliced the upper conning tower away until I got it symmetrial to the bottom height.
I sliced the ends of the SP off as well. The foreward RCS is totally wrong on the model, but the aft is correct. I sliced them each off and have not glued them back on properly yet.
With the tip of a 1/8th drill bit, I buffed away the details in the 4 recess ports/heat sinks. My plan is to drop a tiny piece of sheet styrene in there and drill out the 17 holes that each has (6-5-6)
I'm going to pick up a drill bit for the round depressions in the mid-sides of the mid-octagon as well. That looks to be in the 1/2" range.
I began puttying the surgery scars and am using putty to create the the diagonal shape just underneath the SP as well as to make the top-side beam symmetrical with itself (the aft is correct, the fore is wrong) as well as to shape the aft C-Tower base into symmetry with the front. there is 'barn door' detailing on the sides of ends that can be done w/ styrene.
Pix have been taken along the way, but it's going on 1am here, so not tonight.
|
|
|
|
Post by Model Man on Apr 23, 2008 19:09:37 GMT -6
(original post: 01 Dec 2007 03:44 am)
Looking at the first pic I posted at the top, the conning tower base is soooo freaking ugly! I am very glad that I've stripped it down! I encourage all to at least do this to your kits!
|
|
|
|
Post by Model Man on Apr 23, 2008 19:10:06 GMT -6
(original post: 02 Dec 2007 11:58 pm)I didn't have any genuinely radical pix this last round, but here are a few of the more telling: This end needs to be symmetrical with the aft. Thus, putty added and shaped... 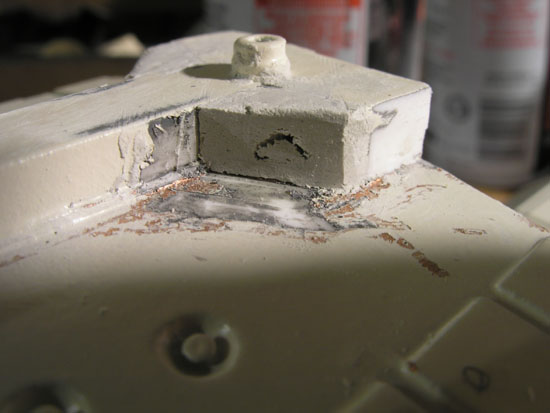 Extending the slope here without moving the tower foreward 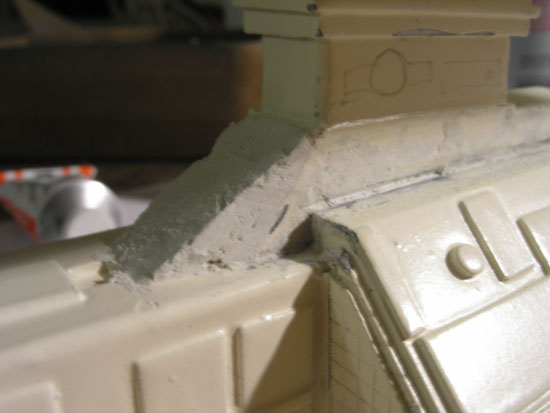 Building a slope up here to match the original 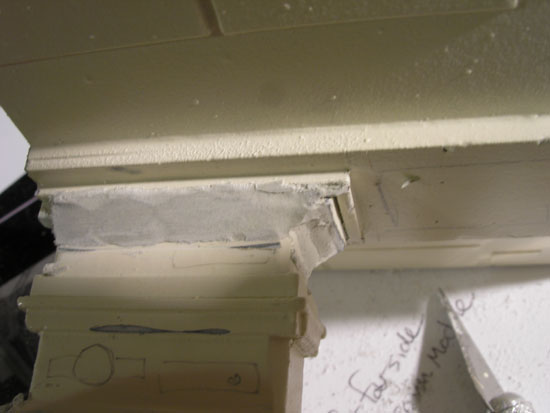 Wiped out all the bad details. Will be drilling exhaust holes in each port 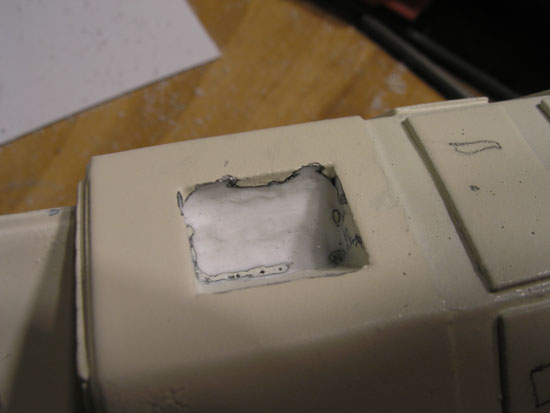 Penciled in all the details that need to be greeblied. 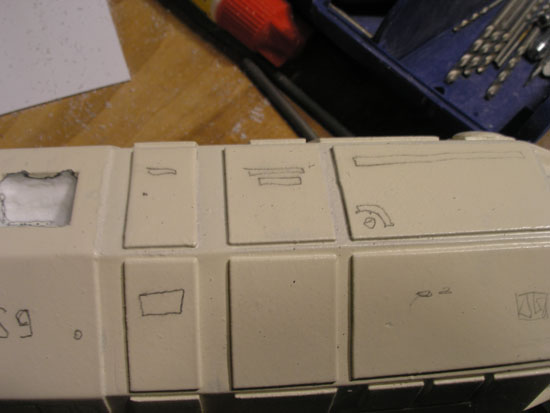 Sliced both ends off and will be making a putty copy of the RCS for each... 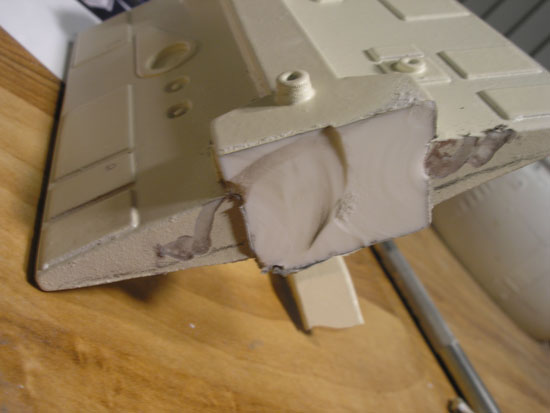 Breaking all the parts hurt it more than me, but it's all back together perfectly now... 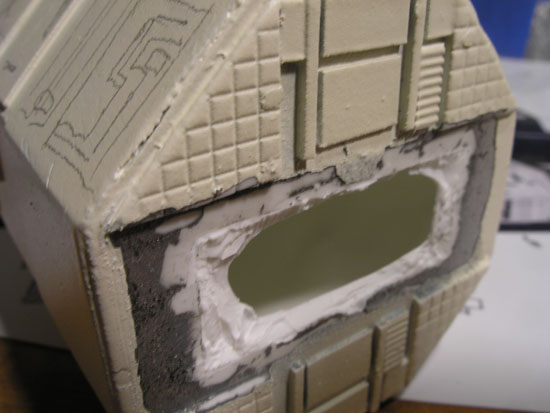 More pix at my site. Kit #63 www.twinlitworlds.com/modelwerx/index.html
|
|
|
|
Post by lunadude on Apr 23, 2008 19:12:18 GMT -6
(original posted: Mon Dec 03, 2007 12:08 am)
Careful with That Axe, Eugene (Pink Floyd reference)
Wow, lots of progress. One step forward, two steps back. I think you are doing the right thing.
|
|
|
|
Post by Model Man on Apr 23, 2008 19:14:52 GMT -6
(original post: 03 Dec 2007 12:15 am)You can likely see why I chose Smash Monkey as my avatar... Hmmm.. Smash Monkey....  
|
|
|
|
Post by Model Man on Apr 23, 2008 19:15:25 GMT -6
(original post: 10 Dec 2007 04:25 pm)Welp. Last night I took a 3/8th bit to the center sides of the kit and popped two holes in the hull. Just about perfect! I even, by eyeball alone, got the holes to line up cross-wise! 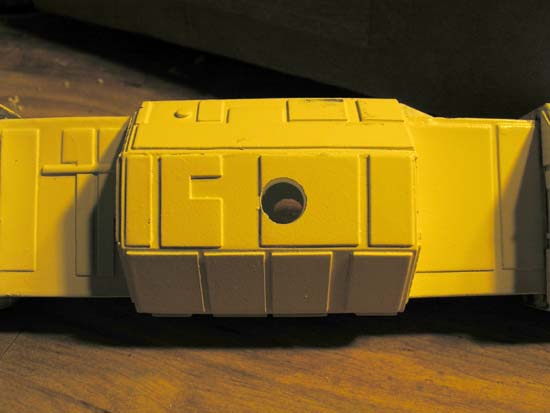 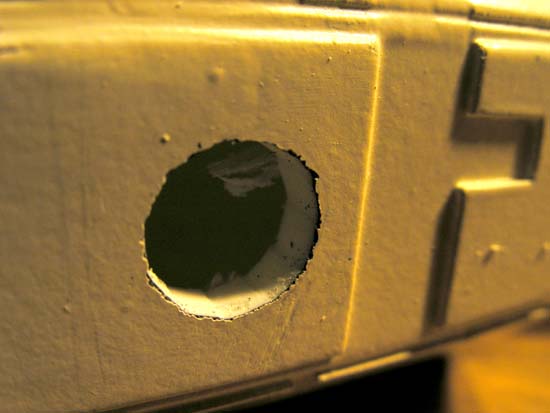 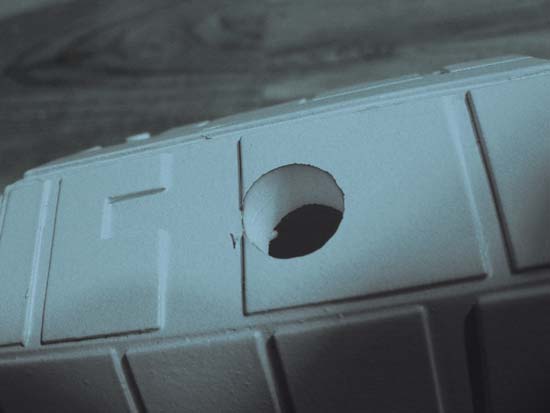 This side was a metal mechanical pencil tip. Only had one... 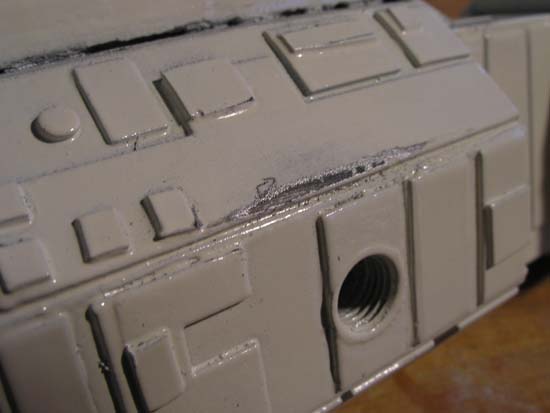 This side was filled with a super glue cap and fit perfectly... 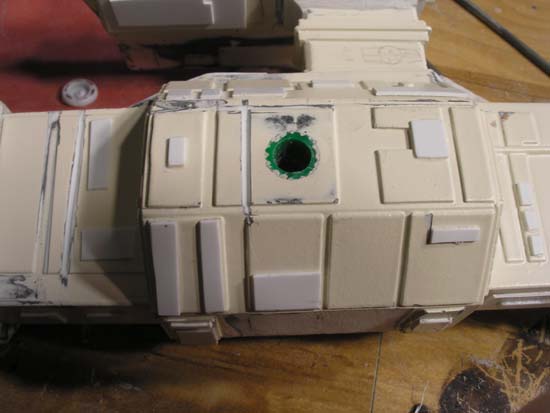 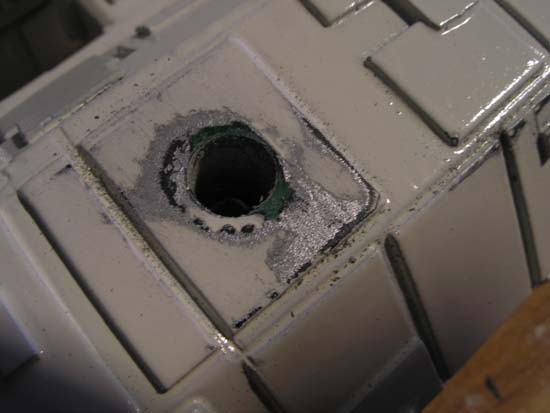 Next step for the kit is to figure out which thickness styrene sheet I need and start creating panels (and the various greeblies thereafter).
|
|
|
|
Post by Model Man on Apr 23, 2008 19:15:56 GMT -6
(original post: 05 Jan 2008 02:37 pm)Without a computer the last month, I've had plenty of time to concentrate on the model making. Last night, it was time to give the bomb a once over... The tower itself has some torque in the molding. I was able to compensate for this and the overall structure is perpendicular to the body. The body also has a slow torque along its' length and height. I was unable to compensate for this in the overall assembly. 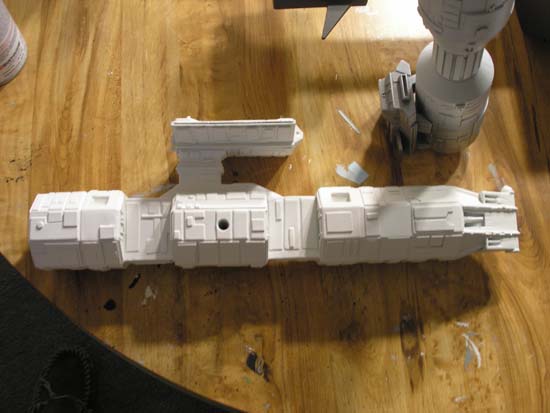 The major body parts were reassembled previously. So I glued the tower back on, as well as the putty parts I'd created, sliced off the lower fore nipple (gotta check the nomenclature chart for the new term), 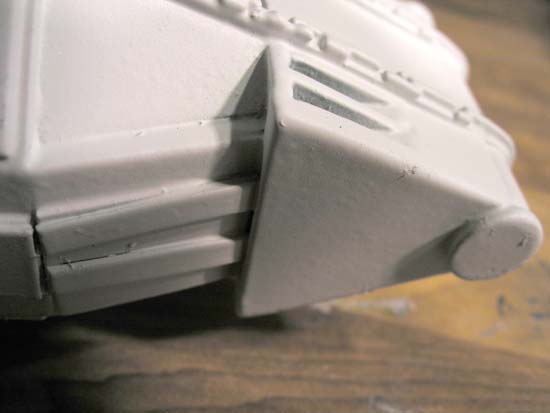 I also set a round glue cap in the port-side hole while the stbd has the nozzle from an old airbrush. Reinforced most of the seams with some more glue as well. See previous pictures. I had some random sty sheet laying around so I tried a few pieces. Can't tell you what thickness I'm working with, but the one I chose looks good. Laid down several small panels across the body to get a feel for it. Happiness! 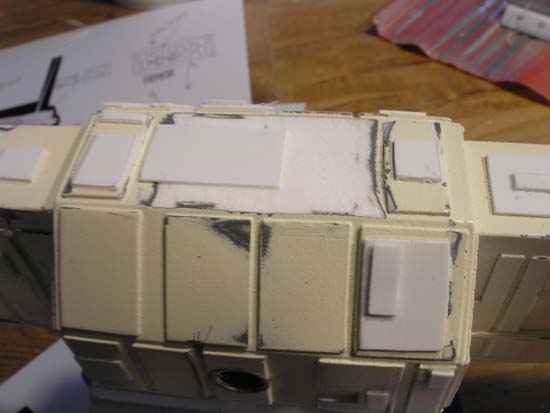 The trick is cutting them square. A scissors is not adequate and the idea of cutting them all with a blade does not portend well. The other trick is using less than a drop of glue to get them down! A single drop is far too much for most of the panels. I will need to get a scribe to cut into a few existing panels and rediret them. Very subtle dremel work may be a substitute technique. The panels are all that separates me from the paint phase -apart from finding two small balls to put in those mid-section holes (nomenclature chart chk needed). I estimate a few weeks of on and off again panel work and then painting. I will be seeking some consensus on what you folks think the colors are. Basically an off-white for the body with some gray panels. I'm torn between a maroon tone and a straight up copper/brass for the color. There is time to mull this over. Hope all your kits are going well too!
|
|
|
|
Post by Model Man on Apr 23, 2008 19:16:25 GMT -6
(original post: 07 Jan 2008 02:10 pm)Did I say a few weeks? I meant a few days. With about ten hours over the weekend, I quite unexpectedly finished off the paneling in about half an hour this morning by doing the underside of the tower wings. I also threw a few last scraps on the body. I could throw a few more scraps here and there, but the panels are pretty much done. And they are everywhere! 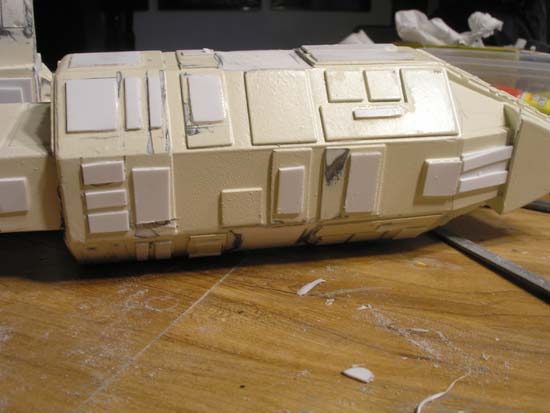 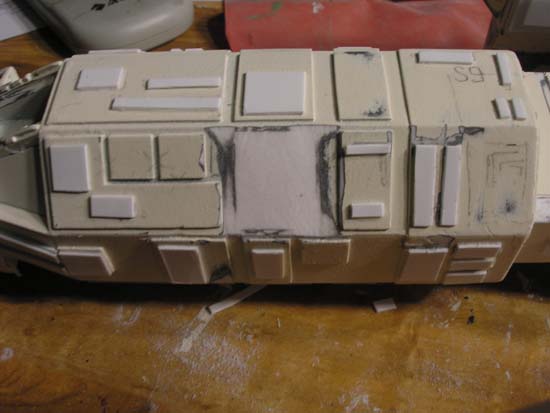  While my guide was the 'letter', I very much followed the 'spirit' of the model in the end. As this is the first greeblie project I've ever done, I am quite pleased with the result. It is far better than I would have guessed it was going to be. It also made me realize how plain the model was before, looking at the pix I have posted here. The significant work ahead of me is the nose. Finding some scraps that look like those details is the ideal. Based on what I've done so far, that work is beyond my scope.  Next step is some black primer which I picked up yesterday. It was too cold and rainy to do that last night. That should be done by the weekend depending on weather conditions. From there, the surface gets a thorough inspection and all issues are addressed w/ filing or putty work. There are a few spots I see now, but there are likely many more that are still relatively invisible. I also picked up a different can of off-white yesterday. I will list its name when I think of it. It was a Rustoleum specialty of some sort, ivory maybe, but probably not. Dat's it for now. How's everyone else doing?
|
|
|
|
Post by Model Man on Apr 23, 2008 19:16:55 GMT -6
(original post: 08 Jan 2008 01:05 pm)I did throw a few last tiny panels down here and there last night. I then broke out the black primer. 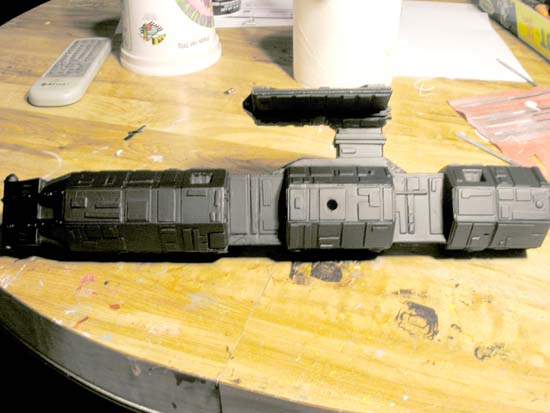 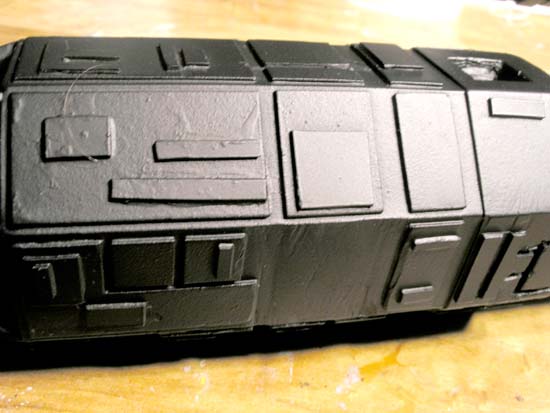 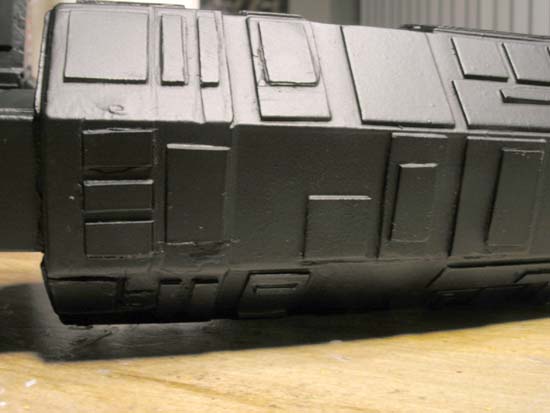 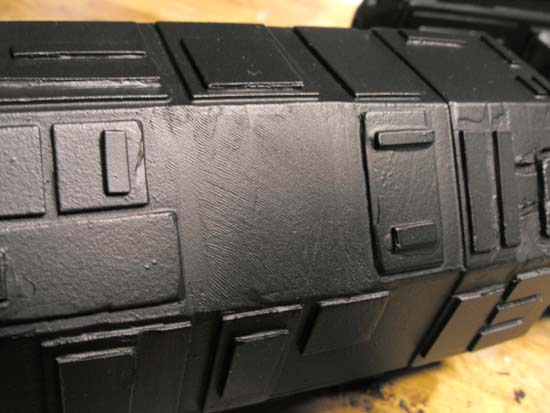 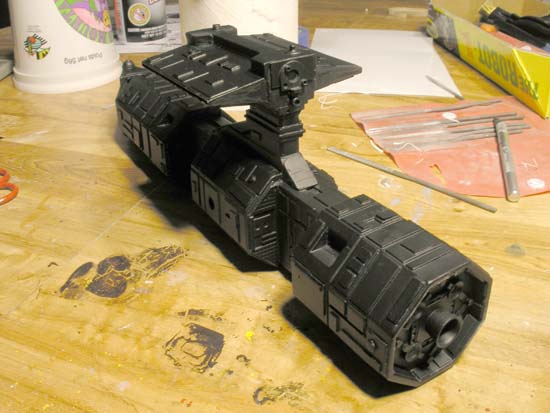 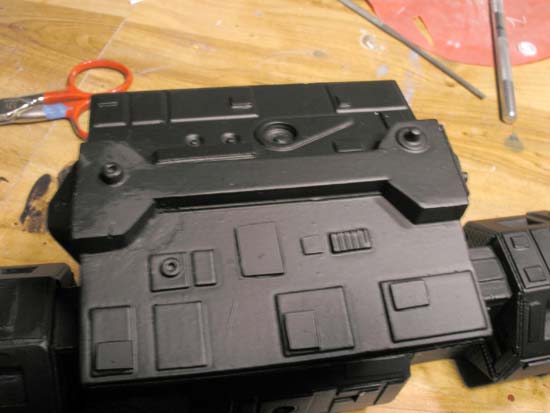 Wow! I've got two coats of black on there as of this morning and the look is phenomenal! All of the panels I put down look like they were molded on the original! I am sooo pleased with this result! Granted, a few are not square to their host panel, some lines I gouged are rounded, and a few others are skewed one way or the other. However, the overall effect is quite spectacular to this modeler's eyes. There is a bunch of surfacing to do, especially on the original panels that I sliced off the body entirely. 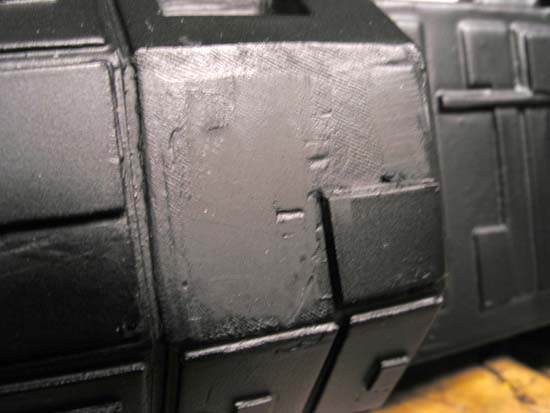 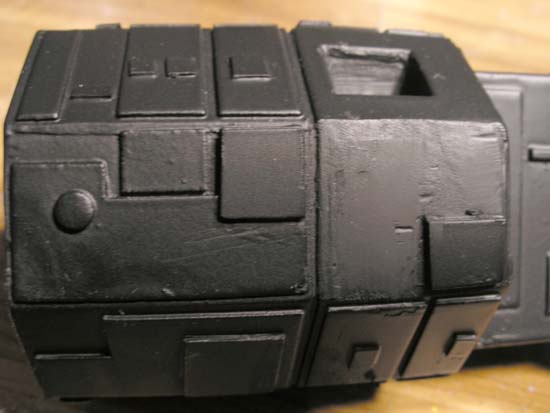 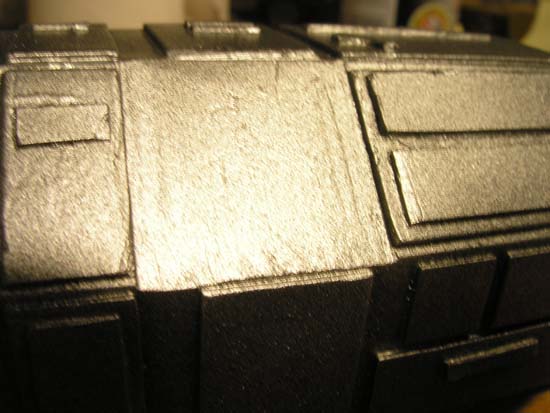 There are a few styrene panels that are scuffed too. I am wondering how I can polish the surface rather than sand or file. I'm out of putty right now so I will have to wait to do that work. If I do any more work this week, I will prime silver next and then go for the factory colors afterwards. This kit is in the 60% finished range. Another 10-15% for surfacing, and the final 20% in painting. Of course, that final 5% of perfection is never quite achievable, is it? ...
|
|
|
|
Post by Model Man on Apr 23, 2008 19:17:24 GMT -6
(original post: 10 Jan 2008 01:31 pm)Despite needing to put some filler along the stbd tower base, I went ahead yesterday with a silver coat. 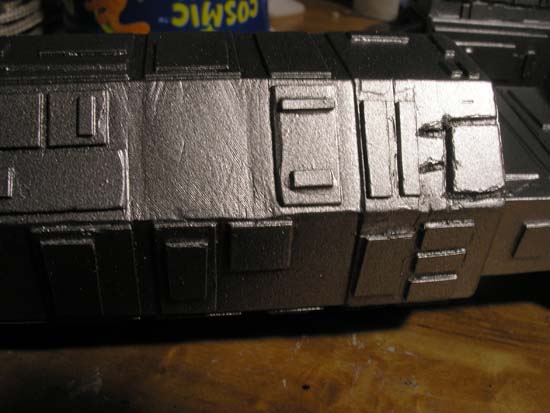 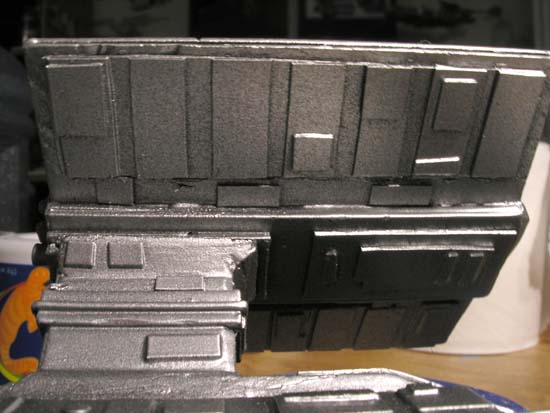 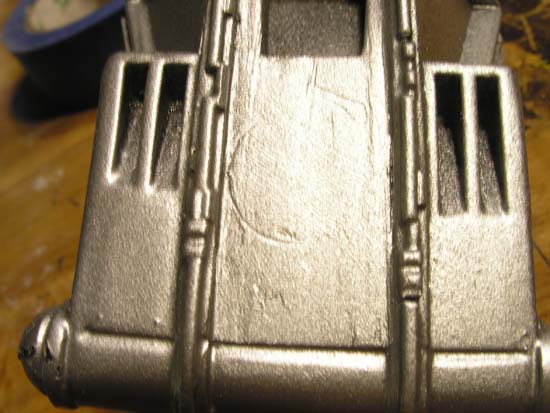 This morning, I thought what the hell', and put down the first white coat. It is Canvas White from Rustoleum and it looks great! Not yellow, brown or blue, this white is just cream enough not to be white, but not other-colored enough to be anything else! The previous white, Shell White (I think) had a distinct yellow tinge when held next to true white and I wasn't crazy about it. The command module is shell white, the rest is Canvas white. Big difference! 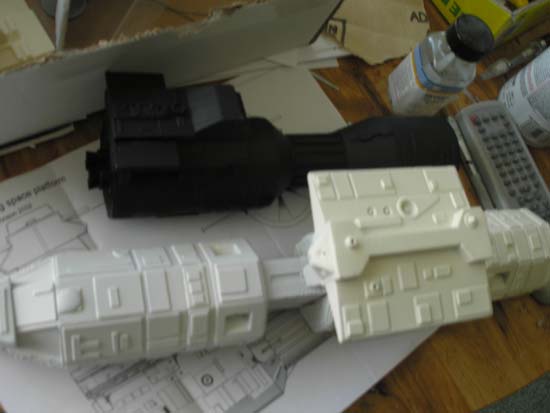 Canvas White is the color!!! This stuff went on thick enough to hide the surface scuffing I thought I would need to finesse, but not thick enough to obscure any paneling at all. Gotta spray the ass tonight and the whole thing will be 'factory fresh'. 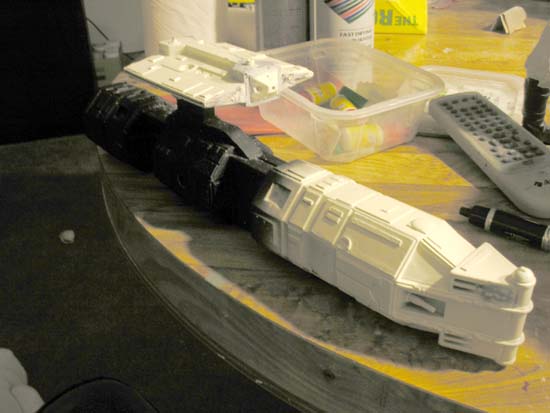 Next will be the top coats, the tower base patching, gotta find a ball to put in the side holes, and probably some other minor stuff. Done soon enough!!! Almost time to acquire Le Bombe' next!
|
|
|
|
Post by Model Man on Apr 23, 2008 19:17:57 GMT -6
(original post: 12 Jan 2008 03:47 pm) As the white was drying last night, the ship fell over and onto the table. From about the height of a spray can, the Weapon's Module and the C&C Module broke clean off. This also made it easier to mod these parts further... 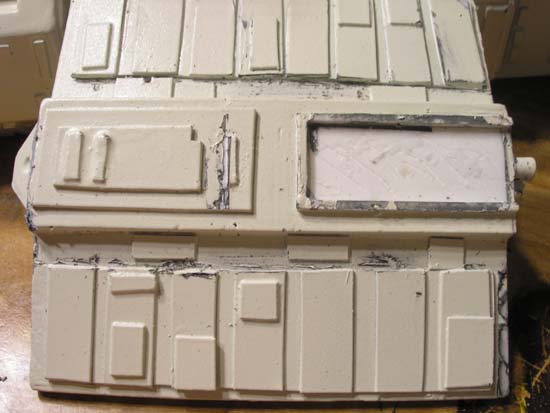 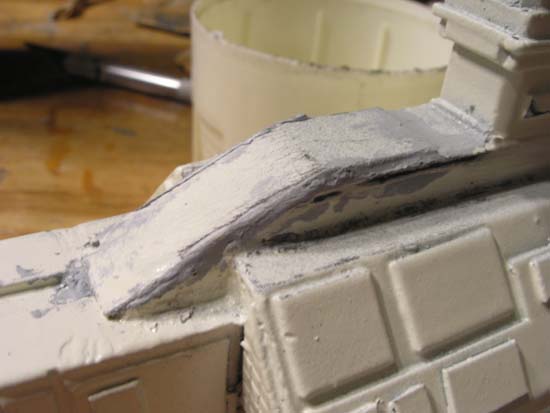 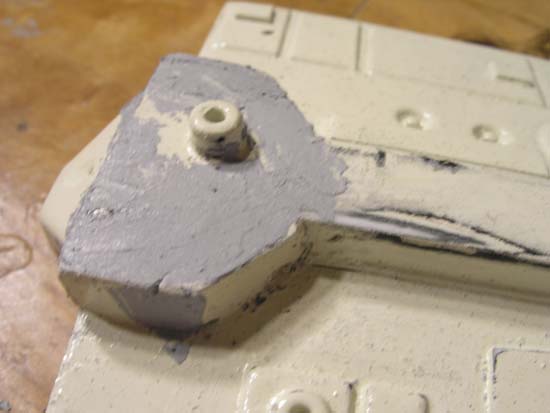 I'm kinda glad it happened, though I myself was a wreck when I heard the crash and saw the pieces from across the room!  The WM had 2 axis of torque in it, compared to the rest of the body, so resetting that will be a good thing. There was a bow when it sat on it's bottom length. And it also veered starboard when viewed from the top. While there's a slight twist down the entire model, it was most evident in this one piece -which could have been the way I glued it back on after the last time I snapped the pieces off. Having the WM off, while not needed, is good as I now have better access to its' underside and the tower itself, resulting in easier manipulation. Due to this, I will finesse some areas that I was going to let slide due to accessibility issues. Also the locations of the breaks are exceptionally convenient as they will not require hiding by paint or putty to heal the wounds! About ready to mix up some grays for the panels!!! Will resupply at the hobbyshop in another hour or so and have a thorough inspection tonight after work (as the pieces were too tacky last night to inspect properly).
|
|
|
|
Post by Model Man on Apr 23, 2008 19:18:28 GMT -6
(original post: 14 Jan 2008 03:32 pm)Welp. got all the general surfacing done across the body. The WM is reattached and as straight as an arrow that the torque will allow. The patching along the tower base needs some primer to see how it came out, but is proceeding well. 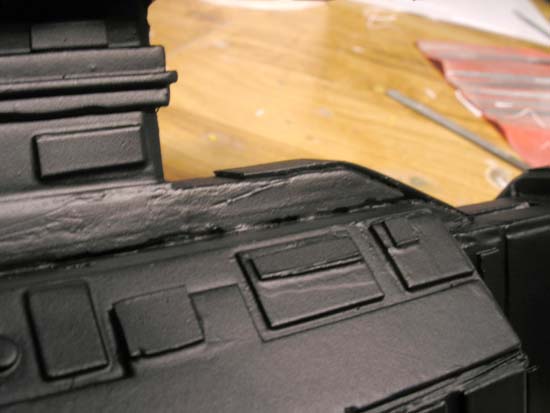 The flappity-flap module is still off, but got some cleaning as well. I won't be regluing that until all else is finished. The side holes still need a ball in them, but can sit a bit. I finished off another CA gel tube and took the nozzle for the port side thingy sticking out, most clearly seen on the stbd photo. (This ship has got to be an orbital death ray machine!!! Clarke and Kubrick don't know what they are talking about! The modelers made the decision for them!) 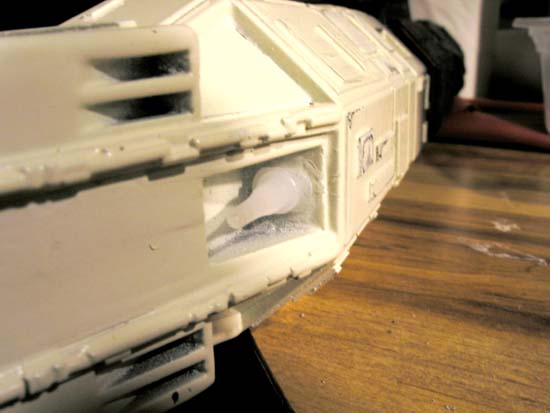 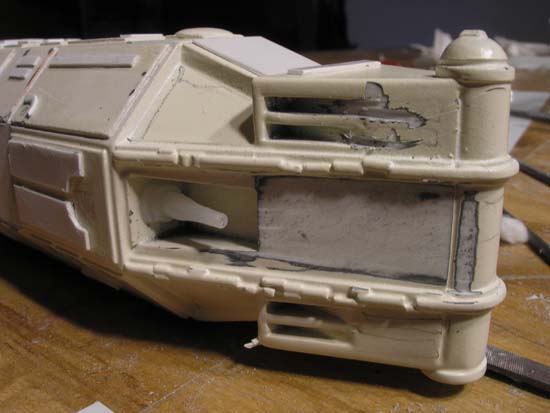 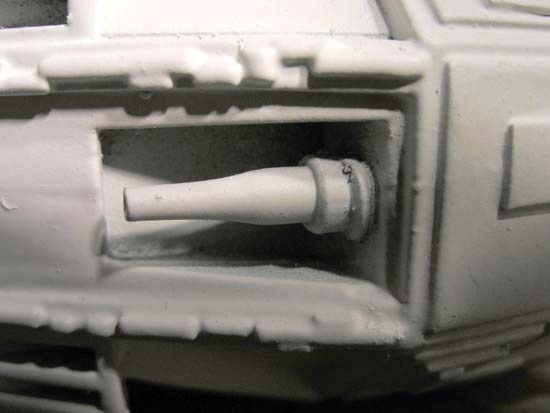 I don't expect to get more work done until the weekend, but you never know with these things sometimes.
|
|
|
|
Post by lunadude on Apr 23, 2008 19:19:14 GMT -6
(original posted: Mon Jan 14, 2008 6:40 pm)
Wow, this is truly a tail of disaster and recovery through creativity and determination.
I wanna see the photos, when you can post them.
|
|


